Tonight we pick up our series: installation and initial setup of the Mb Star C3 diagnostic system.
As mentioned, it’s best to have a dedicated “shop” laptop computer that is used for the MB STAR C3 installation. I actually mimicked the actual MB Star system by purchasing at Sears a Craftsman rolling cart with hinged top, two drawers and a lower shelf, to hold a Hewlett-Packard inkjet printer for printing out reports generated by the MB STAR C3 system. The drawers come in handy for storing the diagnostic cables that go with the system; I also added my home-made “blink code reader” and my 38-pin “Mushroom” diagnostic adapter just to round things out and to have all of the MB diagnostic equipment in one place.
First of all, the hard drive of the computer needs to be 160 GB or greater; the processor frequency of the computer should be at least 1.8 GHz, and the computer should have at least 1 GB of RAM installed (more is better). My computer had all of these parameters except that it has 3 GB of memory installed. This is a real bonus as you will see in a little while. If you can purchase RAM and add it to the computer, it is advisable to do this as RAM is pretty cheap, particularly for older-model computers.
The first step is to prepare the computer for the installation. Using the operating system master disk that came with the computer, it’s recommended to just re-format and re-install a virgin copy of the Microsoft Windows XP operating system onto the computer’s hard drive. Then, you should connect the computer to the Internet (via wireless or via RJ-45 “Ethernet” cable) to update the software, to bring it up to full Service Pack 3 status and to install all of the current security and product updates, as necessary. Next, you will need to partition the hard drive into two logical drives, using a free disk-partitioning program that you can download on the Internet. There are dozens available for Windows, so it shouldn’t be hard to find one. I recommend that you partition your hard drive into two equal 80GB partitions. One will likely be drive “C” and the other partition will likely be “E” or “F” when you are done. You can also choose to partition your hard drive BEFORE you re-install the virgin copy of Windows XP, depending on what you want to do. Either/or.
Next, you want to “clone” the USB hard drive you that comes with the MB STAR C3 kit onto the second partition. Again, there are numerous, free, downloadable disk-cloning software packages available on the Internet. It wlll likely take about 3-5 hours to completely clone the external drive onto the new drive. The reason for doing this is two-fold:
a) you want to preserve your external hard drive as a backup “master” copy of the MB STAR C3 software, in case something goes wrong and it has to be re-installed;
b) performance of the MB STAR C3 system is MUCH better when it’s installed on an internal hard drive than when it’s installed on an external drive; and
c) it’s just unwieldy to have a USB drive hanging off the side of the computer connected with a USB cable; much cleaner just to have everything inside the laptop case.
So, now you’ve cloned the disk and you’re ready for the install.
First, a little background about the MB STAR C3 DAS system, as it comes from the cloners. Essentially, what ships on the hard drive is a Virtual Machine copy of an official MB STAR C3 IBM T30 laptop as shipped by Mercedes-Benz to the purchaser. The Chinese cloners have saved an image of this hard drive as a Virtual Machine image, which is then “played” in a Virtual Machine (in this case, VMWare) on the new computer. So, technically, it’s a computer operating within a computer, hence the name “virtual machine”. Because no processor or software emulation needs to be done, i.e. you’re not running Windows on a Macintosh or vice versa, the speed is actually pretty fast once the Virtual Machine is up and running.
In any case, once you have cloned the MB STAR C3 hard drive to the computer, then you will see a VMWare Player installer icon. You double-click this icon, and it will begin the installation process for the VM. It will ask you a bunch of questions (you just keep clicking on the “Next” button and then it installs the VMWare Player on the “C” (main) hard drive of the computer. It will probably put icons for the VMWare player on the desktop, in the menu bar and in the Start Menu folder as part of the installation process.
After that, you will have to restart your computer to complete the installation process, which is normal. After you restart, everything should be installed correctly. It’s a pretty typical Windows software install and it goes pretty quickly and smoothly. Remember, you’re just installing the Virtual Machine PLAYER that the MB STAR C3 disk image runs inside of. So next, you have to tell the Virtual Machine WHAT it needs to run. To do this, you have to go to the hard drive that you cloned the external hard drive to (typically the E: or F: drive) in your “Windows Explorer” program or by double-clicking on the “My Computer” icon on the desktop or in the Start Menu. From there, you will see an icon with the name something like “DAS_2012.10.vmx” or something similar. This is the disk image file with the date of the cloned copy in the name of the file — in this case, corresponding to the October, 2010 copy/update of the MB STAR C3. The .vmx extension on the file name indicates that the file is a VMWare virtual machine image.
So, you should double-click on this file, and it should automatically launch the VMWare Player that you installed, and the MB STAR C3 software playing in the Virtual Machine will ask your for an 8-digit password. Typically, with the Chinese clones you take the first 8 characters off of the serial number sticker that is on the hard drive (it’s the hand-written alphaneumeric character string that is on the label on the hard drive case) and type that in. From there, it will start loading the MB STAR C3 software. After a minute or two, the main (“Desktop”) screen of the MB STAR C3 system will appear. You have the option to run the Virtual Machine full screen (which I recommend) or you can just run it within a window on your screen.
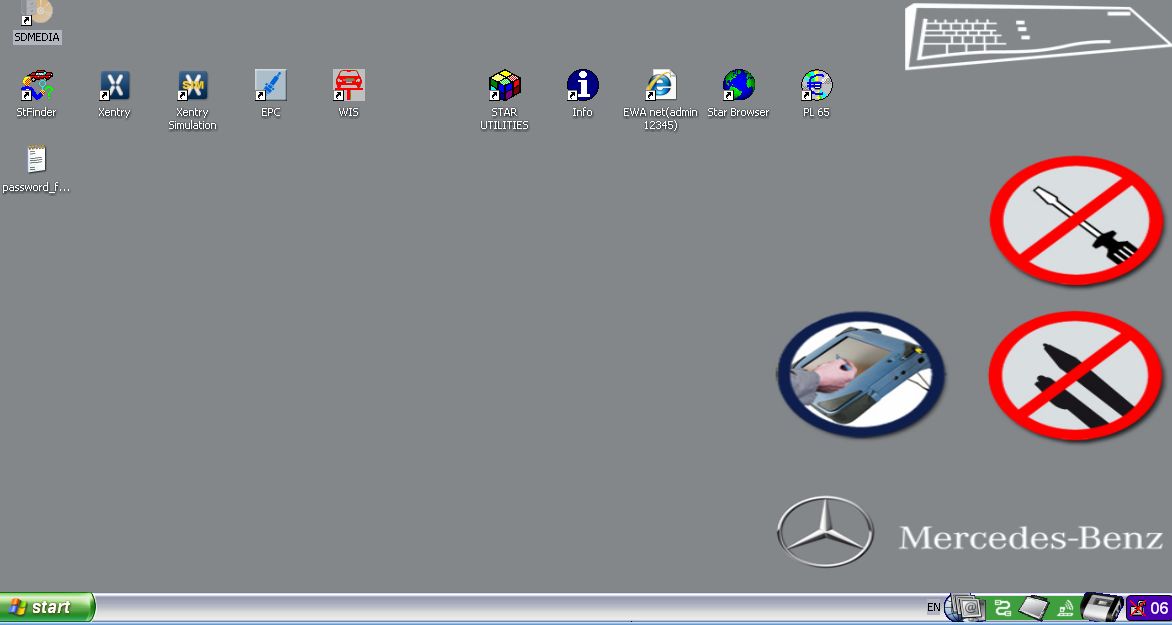
The Desktop screen of the MB STAR C3 (see first image below) contains a number of icons, which correspond to the various program elements that comprise the system. These individual programs generally correspond to the following functions (various clones may have slight to moderate variations of what is listed below, depending on the vendor and the extent of the clone):
Xentry – the “master control program” which is the hub of the MB STAR C3 DAS system, serving as the gateway out to most of the other individual key DAS modules
Star Finder – a program that allows (beginning with W210 cars, and all newer chassis) the user to pinpoint the location of components on the car
EPC – the Electronic Parts Catalog (same as US users have access to online; the MB C3 STAR versions are probably a bit out of date)
WIS – the Workshop Information System, a collection of all processes and documents pertaining to repair and maintenance of all the vehicles
Star Utilities – a collection of utilities that help the user administer the MB STAR C3 system — must be used VERY carefully !!
Info – information about the MB STAR C3 system
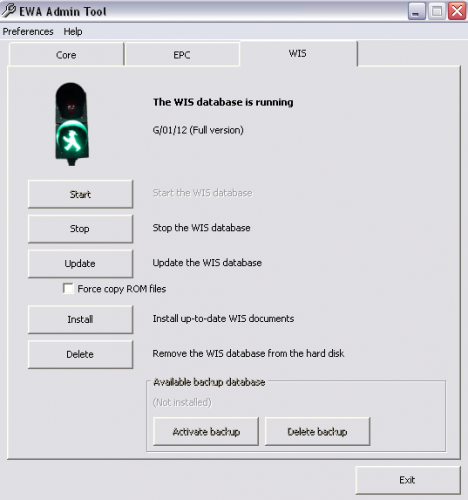
EWA net – the administration program for the core, EPCnet and WISnet functions that tracks passwords and user access
Star Browser –
PL 65 – a price list of MB parts prices (generally out of date, but often a good indicator of pricing)
SD Media – a collection of instructional information and video procedures for diagnosing and solving problems
TeamViewer 6 – a non-Mercedes remote access program that allows the vendor to control your computer if you need technical support/assistance. Specific program varies by vendor.
EWA Net software interface
Typically, because the Chinese cloned copy of the MB STAR C3 DAS is a copy of a real system, taken at a point in time in the past, you will at this point have to change the day and year of the Virtual Machine (not your Windows XP system date and time, though you can do this too if you wish) to correspond with that of the day, month and year found in the file name of the Virtual Machine image on the hard drive provided with the system. Generally, the vendor will provide you with a specific date that you should change it to. It is IMPERATIVE that you do this before EVERY time you start up the MB STAR C3 system; otherwise you will get errors and you won’t be able to properly run the Xentry software because it will be out of date.
So, after you’ve changed the system date in the Virtual Machine, you should double-click on the “Star Utilities” icon on the desktop to begin the actual configuration of the MB STAR C3 installation. You will then click on the “StartKey Manager”. At this point, a dialog box will pop up, and you have to select the “Xentry diagnostic” option in the Application menu.
The system will then provide you with several pieces of information, which you should write down. These bits of information include:
HW-ID
APP-ID
Start Date
Finish Date
Then you will see a place to fill in a long alphanumeric string of characters, which is an overall system access password. To obtain this, you have to provide the aforementioned bits of information to the vendor, and they will generate the alphanumeric code for you. This is several dozen characters in length. You enter this alpha code into the provided field, and if everything checks out and is correct, you will see a small box pop up that says “Saved Successfully!”. That means you are good to go, and you can then start and enter the MB STAR C3 DAS system.
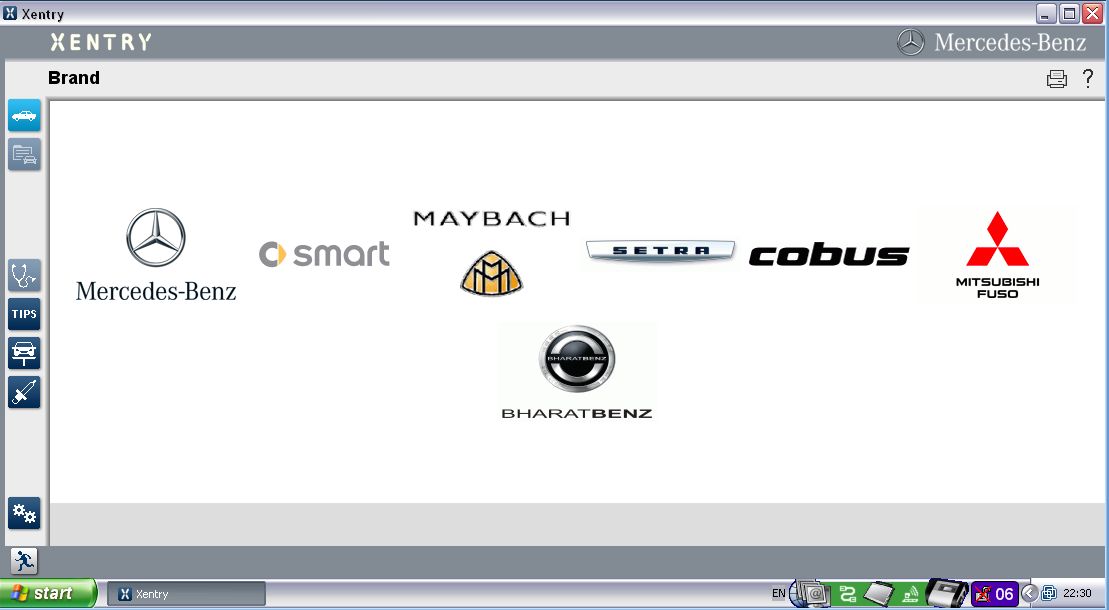
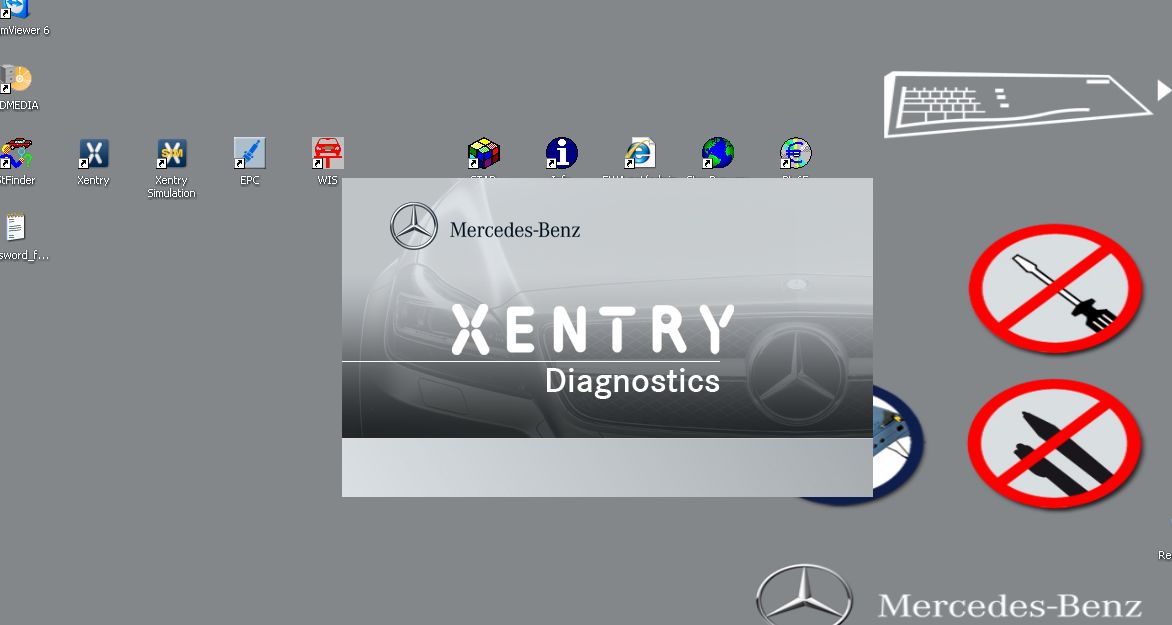
From there, what you want to do is to fire up the Xentry software by double-clicking on the Xentry icon. The second and third images below show the Xentry software in the process of loading, as well as its main screen.
Next installment will be a detailed exploration of the Xentry software and its links out to the various components of the MB STAR C3 DAS system.
Hope you enjoy this!


Leave a Reply