
Question: Is it possible to update SD Connect C4 without batteries, because I am damaged and batteries do not work !!!.
Answer: It can be done perfectly.
If you need to update an SD Connect and you do not have batteries or the power supply/charging circuit is damaged, you only have to edit the toolkit.ini file, modifying the following lines so that the supply and/or battery voltage is lower to the real (it would be enough to set them to zero)
Obviously make sure you have a stable and sufficient external supply.
[SoftwareUpdate]
;
; Voltages necessary for SDconnect firmware updates. These values are only for the pre-check of the toolkit, the values will be checked by the update process again
;
MinUpdateVoltageVBatt=7200
MinUpdateVoltageVExt=11000
When to upgrade sdconnect C4 Plus firmware?
For example, one user feedback ” he has SD connect C4 Plus with Xentry 2020.3 software and try it to connect to the car and the computer with no luck, it fails to communicate”.
The solution from Obd2tool.com chief engineer:
To upgrade SD connect C4 Plus firmware.
How to upgrade SD C4 Plus firmware without battery installation?
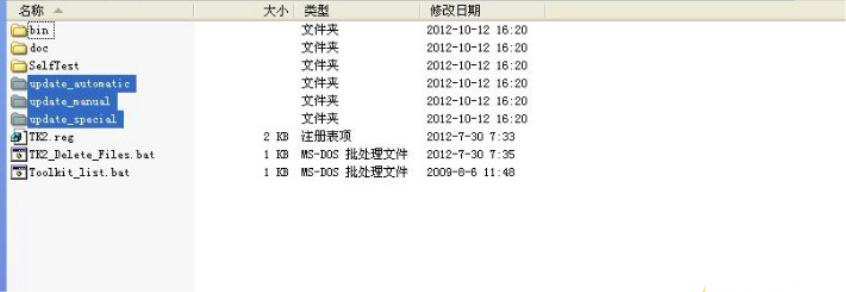
Open DAS software, enter the folder “C:\programm files\SDconnect Toolkit”, check if there are the following three folders: Update_automatic, Update_manual; Update_Special.. As shown in the figure below. If the name is wrong, please correct it.
Reboot the computer.
Start to upgrade the SD C4 Plus firmware, please follow the procedure below:
1) Closing Xentry Diagnostics/Xentry DAS diagnostics application
When accessing a vehicle in Xentry Diagnostics or Xentry DAS, the following message appears:
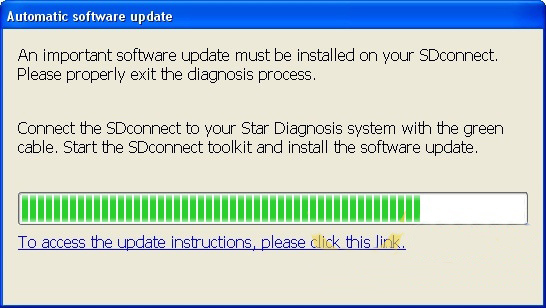
Please exit the diagnostic application Xentry Diagnostics or Xentry DAS correctly and follow the next steps.
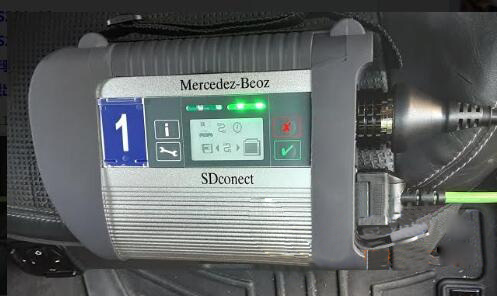
2) Connecting the SDconnect to the Star Diagnosis system
Connect the SDconnect to the Star Diagnosis system with the green LAN cable.
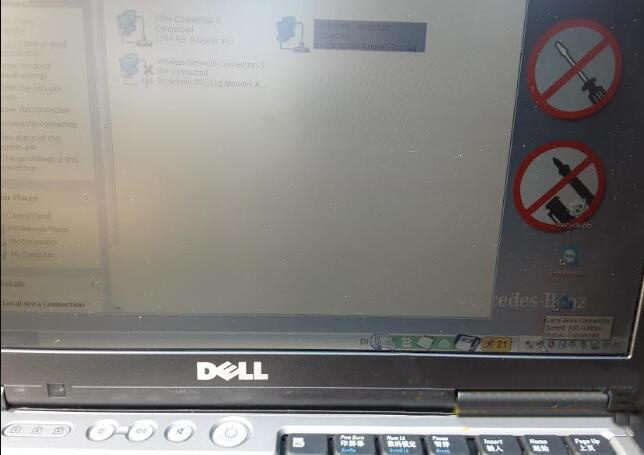
The SDconnect will be automatically selected and appear in the deskband on the Star Diagnosis system:
![]()
3)SDnetControl
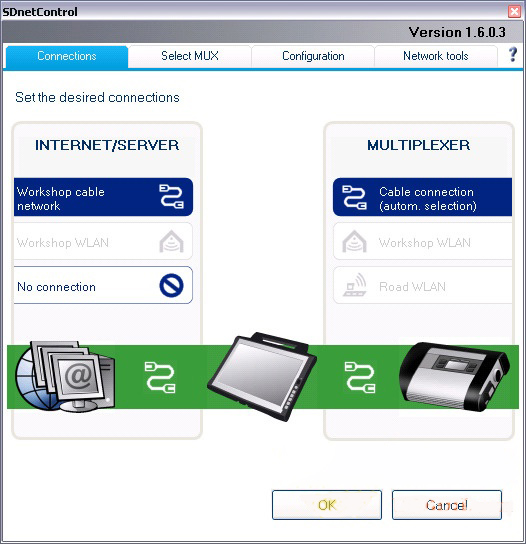
A) Start SDnetControl by clicking the deskband
Go to the “Connections” tab.
B) Check whether automatic selection via the cable connection is active:
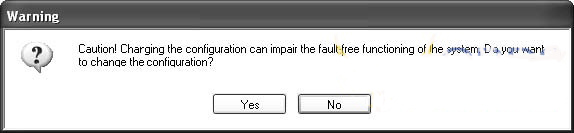
Go to the “Configuration” tab, and confirm the warning with “Yes”:
4). Software update
Go to the “MUX” tab in SDnetControl.
Click on the “Software update” button.
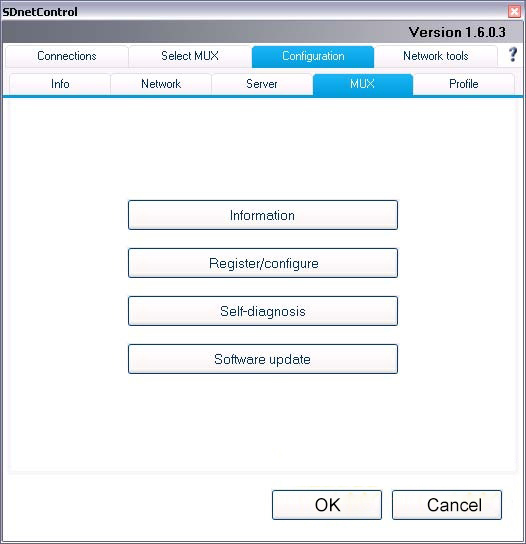
The “SDconnect Toolkit Administration” program will start.
Go to the “Software update” tab in the SDconnect Toolkit.
Your SDconnect is already selected on the left-hand side.
Select the “Software update” packet under “Files for software update”.
Click “Start” to start the process.
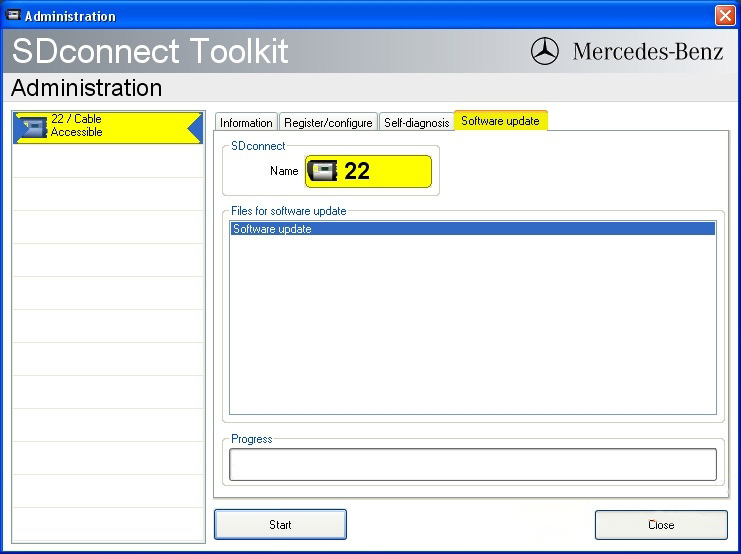
The update process will start. This takes approx. 4 minutes.
5) Complete the installation
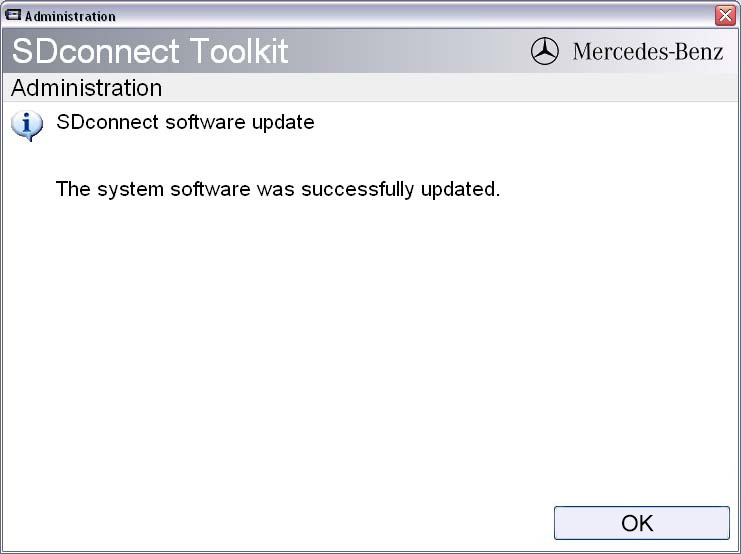
Confirm the successful completion of the update.
After a successful update, a message indicating the successful update completion appears.
Confirm the message by clicking “OK”.
6) Check the installed software
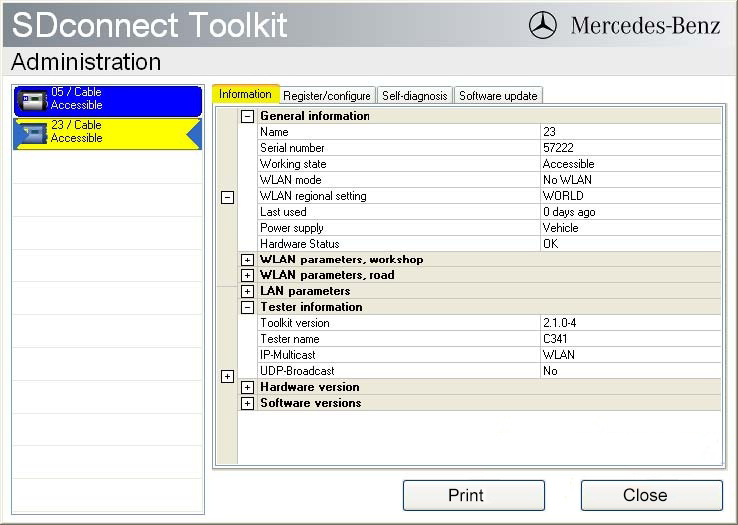
Go to the “Information” tab in SDconnect Toolkit
Select your SDconnect on the left-hand side.
Check the information under “Software versions” at the right:
The versions of the Linux OS and the CommandServer must be at least 2:0:xxxxxx.
The SD Connect 4 plus firmware update is completed. The green LAN cable can be removed.
;
Leave a Reply