
Windows 8 and Windows 10, unlike Windows 7, do not allow you to create a direct computer – to-computer (Road24) connection. However, it is possible to create an Ad-hoc “WORKSHOP” network between the computer and the SDConnect multiplexer in the command line mode.
Not all Wi-Fi adapters support this type of connection. This is why you first need to make sure that the laptop adapter allows you to create an Ad-hoc network.
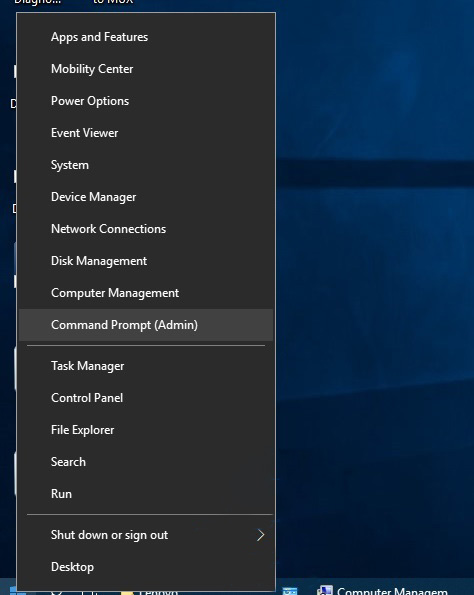
Open the command prompt as administrator: press Win+X, Command prompt (Admin).
Enter the command netsh wlan show drivers and press enter. In the list that opens, look for the item “Hosted network supported”, which should have the parameter “Yes”.
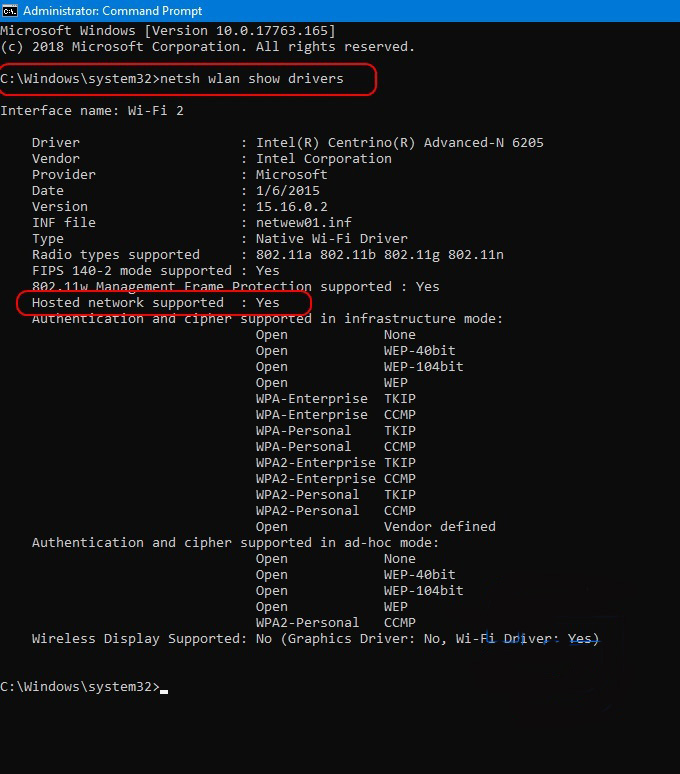
If this function has the “no” option, then either the wrong wifi adapter driver is installed, or this adapter does not support this type of connection.
Next, create the network “workshop” with the command: netsh wlan set hostednetwork mode=allow ssid=”workshop” key=”aaaaaaaa”. Where “workshop” is the network name, “aaaaaaaa” is the password. The network is created.
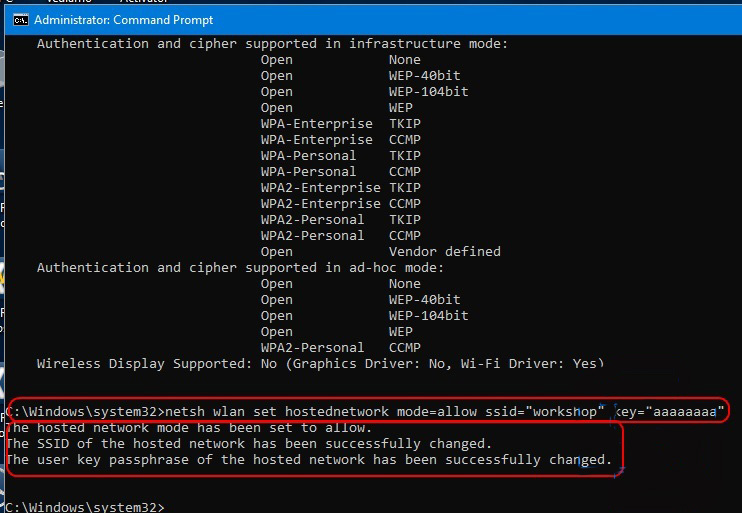
The network is created once. The command to create the network do not need more. In the future, only the commands to start and stop the network are used.
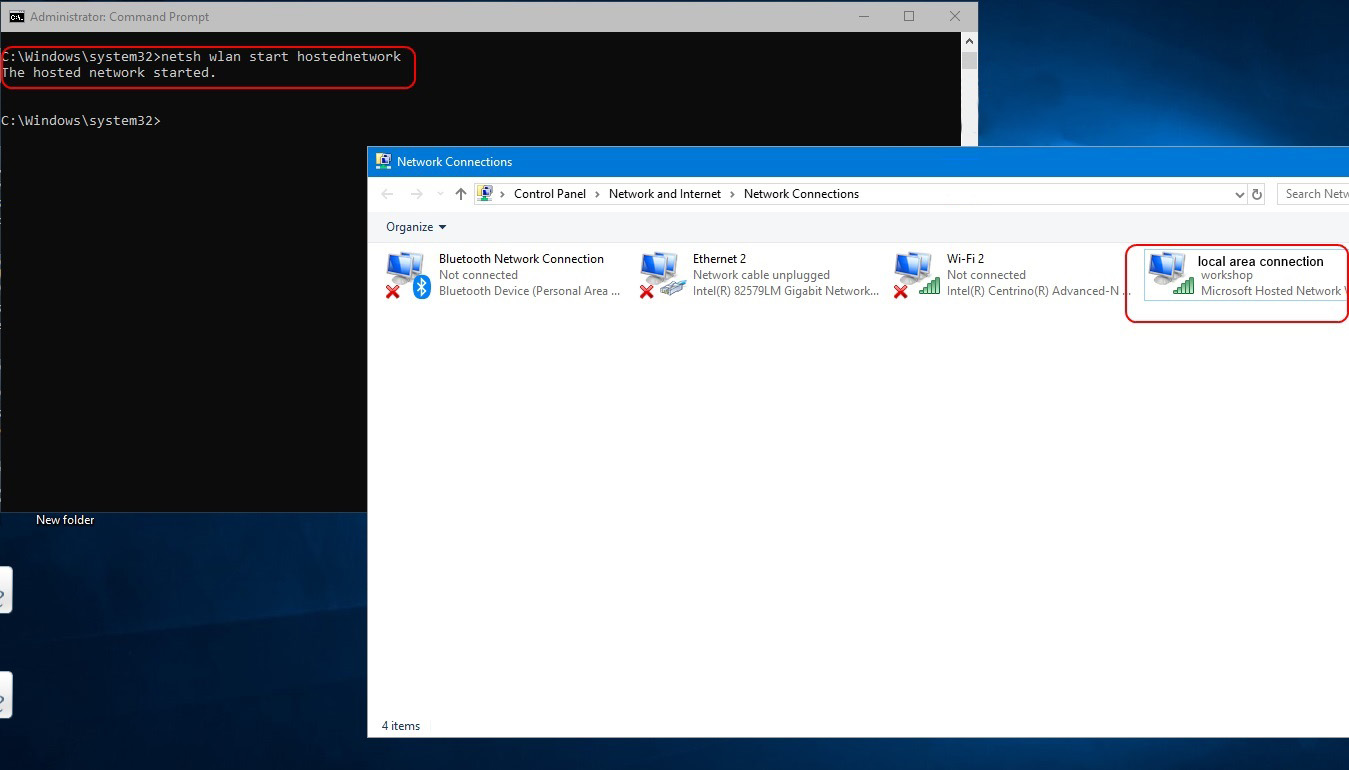
Start the network “workshop” command: netsh wlan start hostednetwork. The network is up.
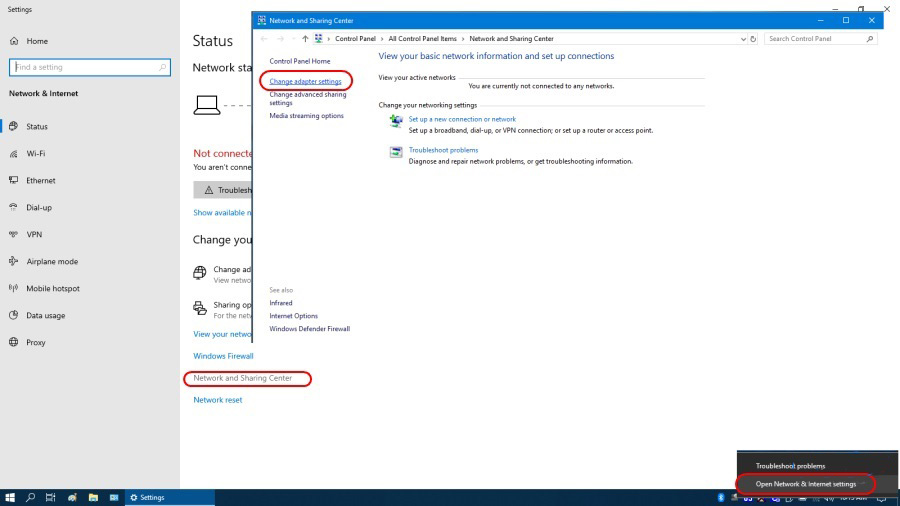
Open the folder “Network connections”. We see that there is a virtual adapter Local area connection **.
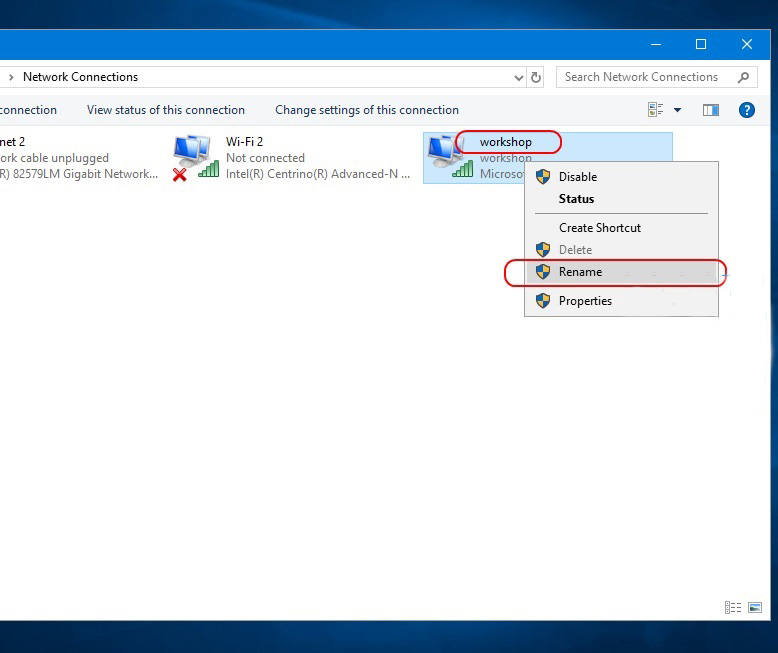
For convenience, it is desirable to rename the virtual adapter to “workshop”.

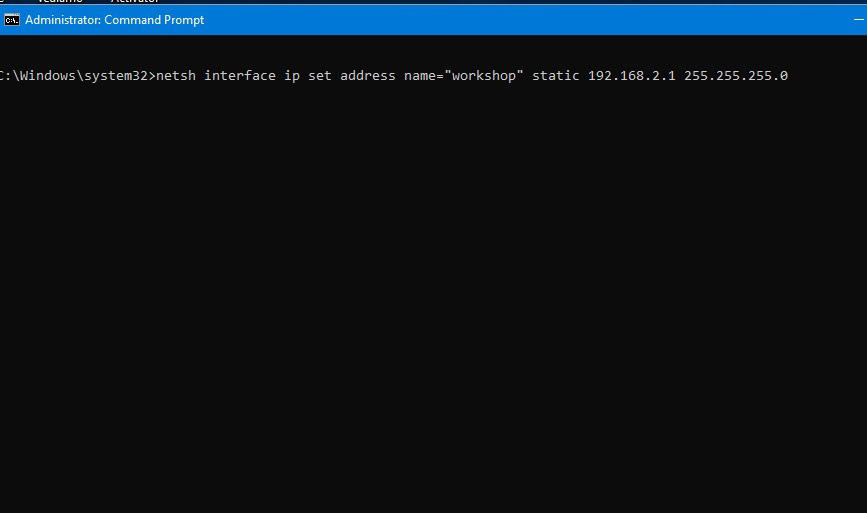
Next, you need to assign a static IP address and subnet mask to the virtual adapter. This is done with the command: netsh interface ip set address name=”workshop” static 192.168.2.1 255.255.255.0
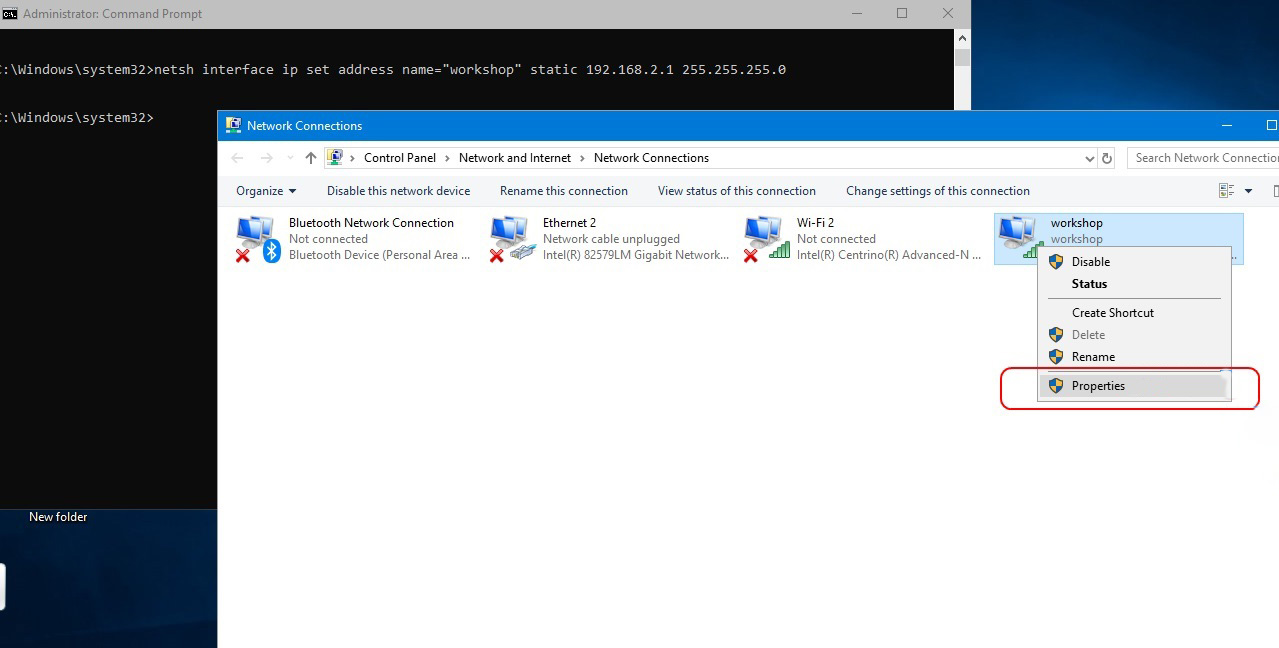
Press enter. There should be no error message. Check if the adapter settings are saved in the adapter properties.
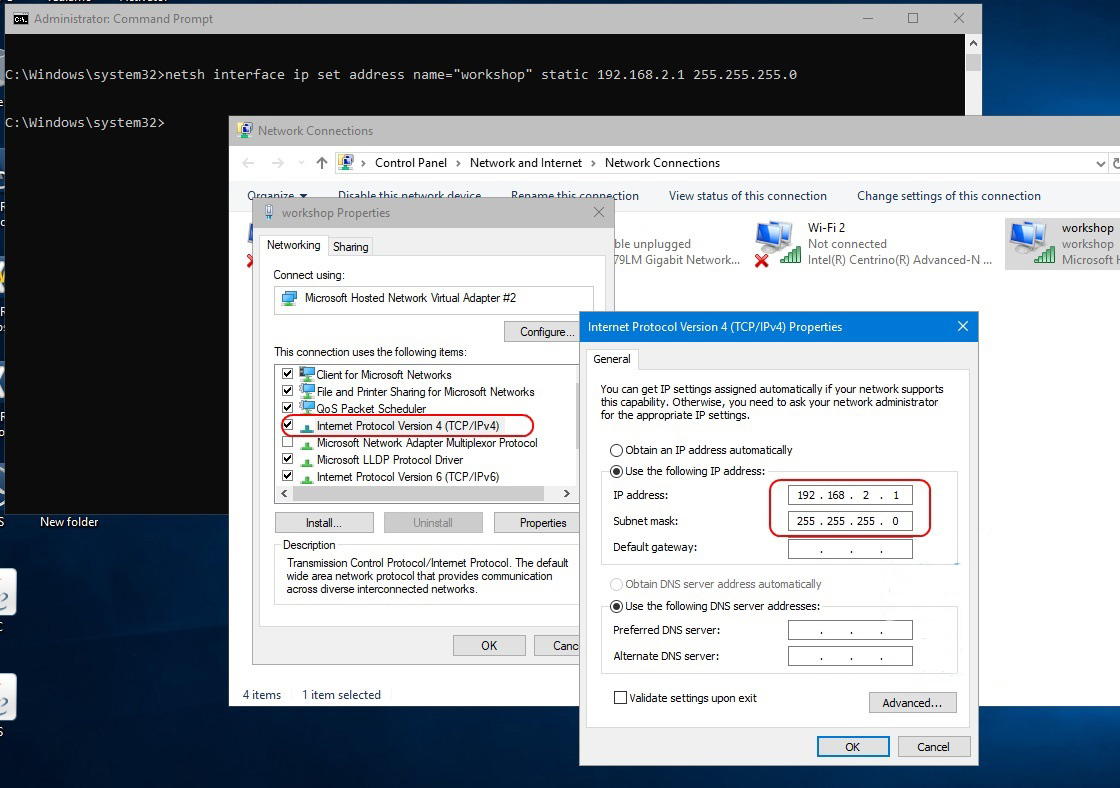
At this point, the virtual network adapter configuration is complete and the laptop is waiting for the SD Connect C4 multiplexer to connect.
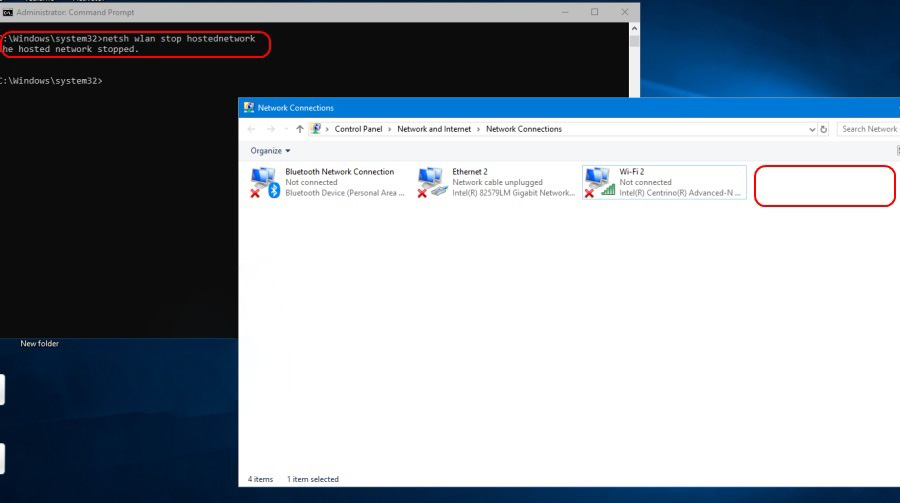
To stop the network, use the command: netsh wlan stop hostednetwork. The virtual adapter disappears in the Network connections folder .
For convenience, so as not to enter commands manually, you can create bat files with the appropriate commands. Files are created in any text editor with any name. After that, its are assigned the extension bat.
The network creation file has the following contents:
netsh wlan set hostednetwork mode=allow ssid=”workshop” key=”aaaaaaaa”
The startup file of the network and assign an IP address:
netsh wlan start hostednetwork
netsh interface ip set address name=”workshop” static 192.168.2.1 255.255.255.0
Network stop file:
netsh wlan stop hostednetwork
The network creation file is used only once. Network start and stop files can be conveniently located on the desktop.
Next, you need to configure the SD Connect multiplexer.
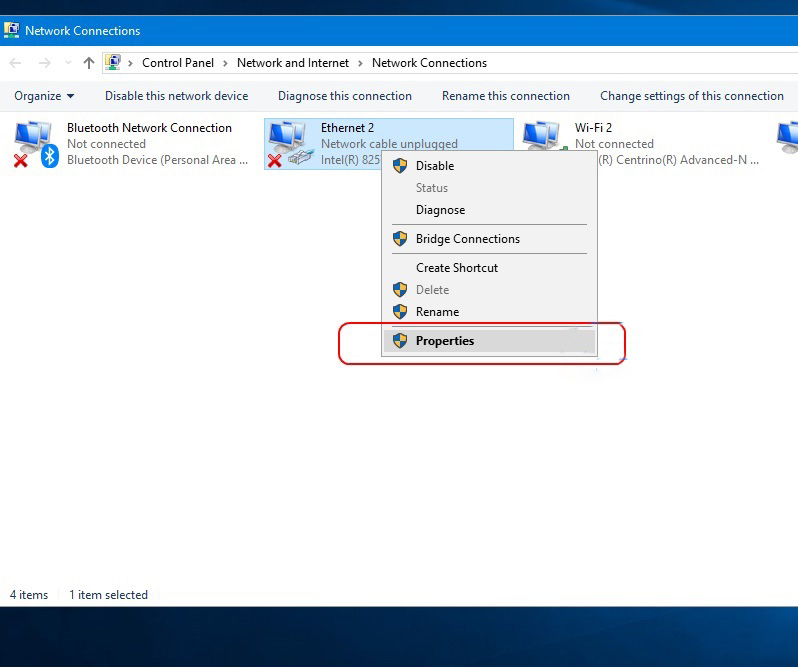
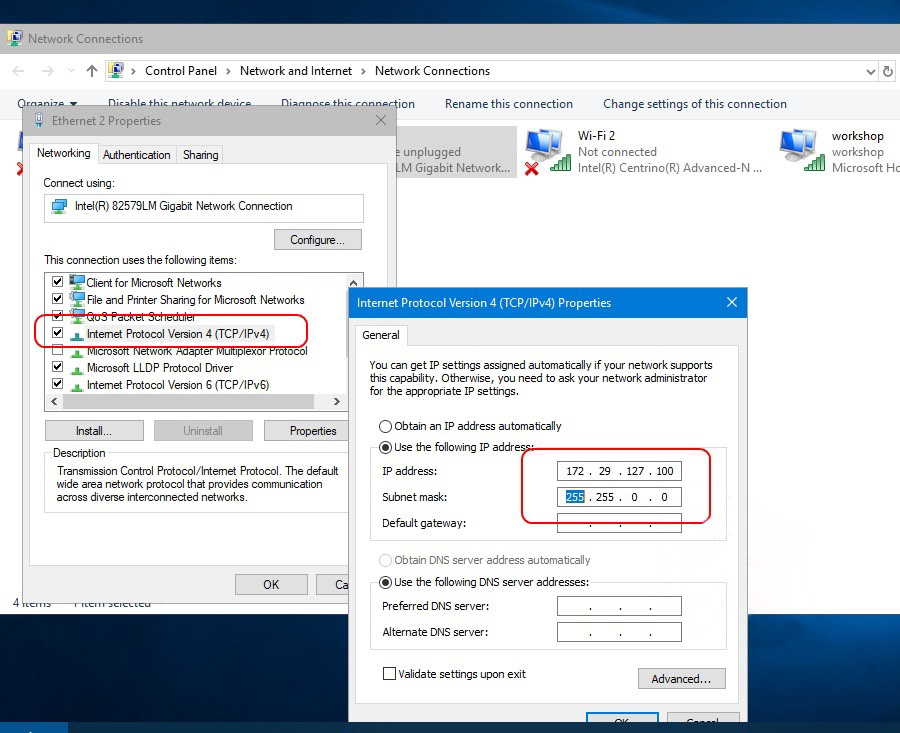
Connect the multiplexer to the laptop by cable. The lan adapter settings must already be installed.
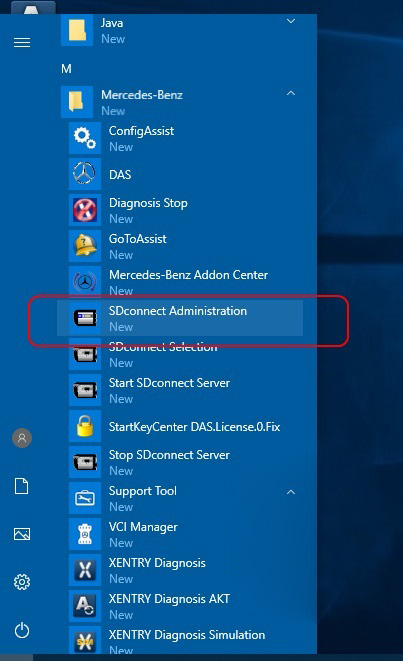
Run” SDConnect Administration”.
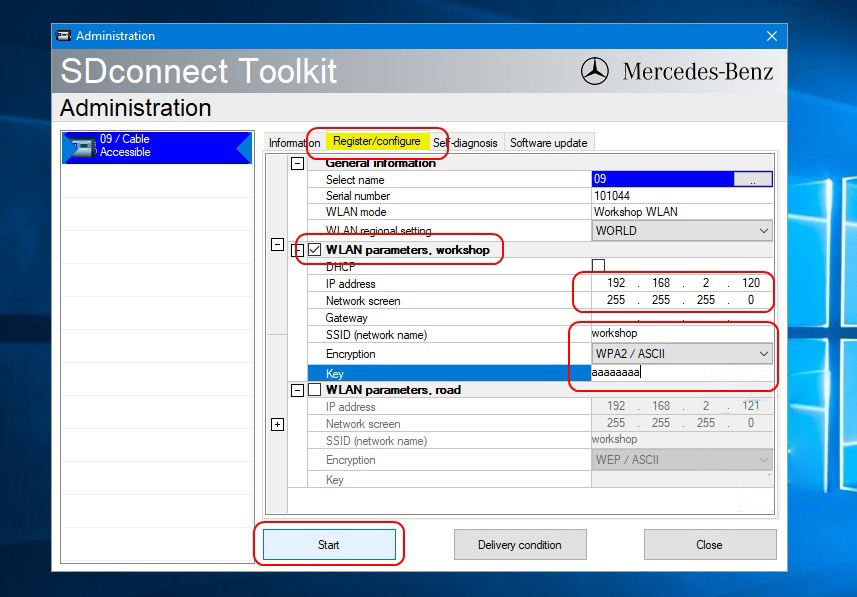
Go to the tab “Registration/configuration”. Enter the data according to the screenshot and click Start
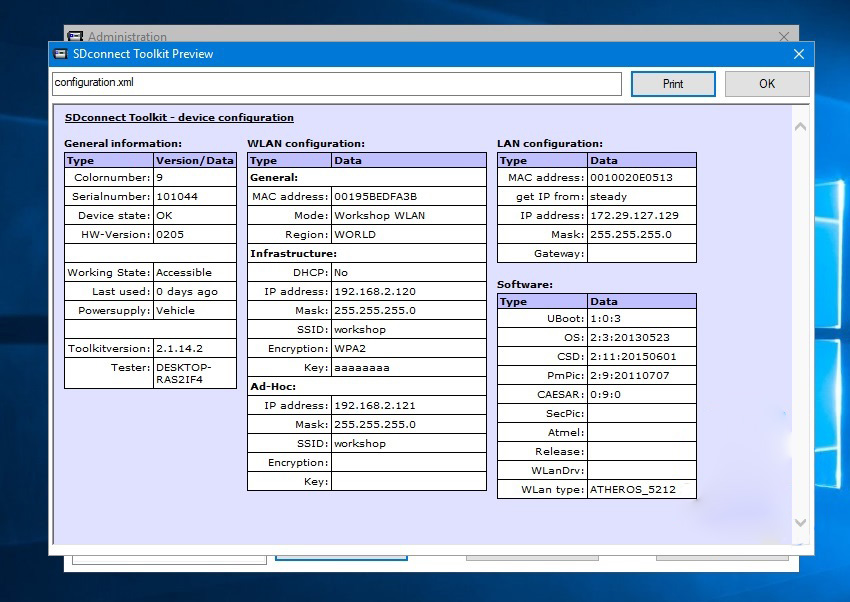
The multiplexer configuration is complete.
If the multiplexer has already been configured mode Road24h, now added the second mode is a “workshop” and have the opportunity to switch modes wireless connection. On the multiplexer, the switching of wireless connection modes is performed by the buttons of the display panel.
In the ” workshop” mode , constantly flashing, red led means that the device is waiting for connection with the laptop. As soon as you run the bat file “network start” on the laptop, the connection will be established automatically and the led will stop flashing. The order of starting the network in the laptop and turning on the multiplexer in the ” workshop” mode does not matter.
Stopping the network is performed as a bat file. In this case, the multiplexer again goes into the network connection wait.
Leave a Reply