
PART 1 — BACKGROUND
This thread will be devoted to a thorough explanation of the Mb Star C3 system in depth, over time. Another good reference thread can be found here.
First off, some history and background about the system. The MB STAR C3 is a diagnostic system that is provided by the factory for dealerships and independent repair shops, and is used to interface with the cars’ computers to diagnose systems and pull/reset codes, and even to program certain elements of the systems on more modern cars. The system costs upwards of $20,000 from MBUSA, and is applicable for MBs from model year 1989 and newer.
Of course, cars of model year 1989 only had 2-3 computers in the car; however all successive MBs have had an increasing number of computers, and this is where the MB STAR C3 system really comes into its own — with the newer cars. For the purposes of the cars that are the focus of this forum — the 124.036 E500E — and to a lesser extent the 400E/E420 and the later C126 coupes, the computer setups are rather crude and limited when compared to cars starting with the W210 models, which debuted in model year 1996 in the USA.
What I’m saying is that the MB STAR C3 systems are much more suited and capable, coming into its own, the newer the car that it is used with. However, the good thing is that it is able to fully exploit the built-in computer diagnostics as found in the E500E. It does this using a compatibility mode that emulates the Mercedes-Benz Hand-Held Tester (HHT), which was a diagnostic tool that was used for the 1989 and up cars, commonly until about 2001 when the MB STAR system debuted. The HHT is literally a hand-held unit (it is actually quite a handful) that allows the user to pull and reset codes, provides access to “live” engine data on the M119 and M104 engines (though a larger array of live data on the M119s), and generally pull compete diagnostics of the computer systems.
Mercedes Hand-Held Tester (HHT)
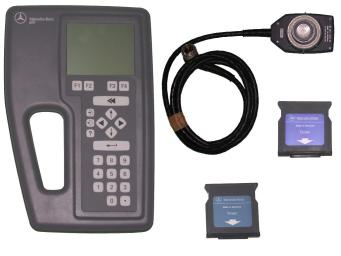
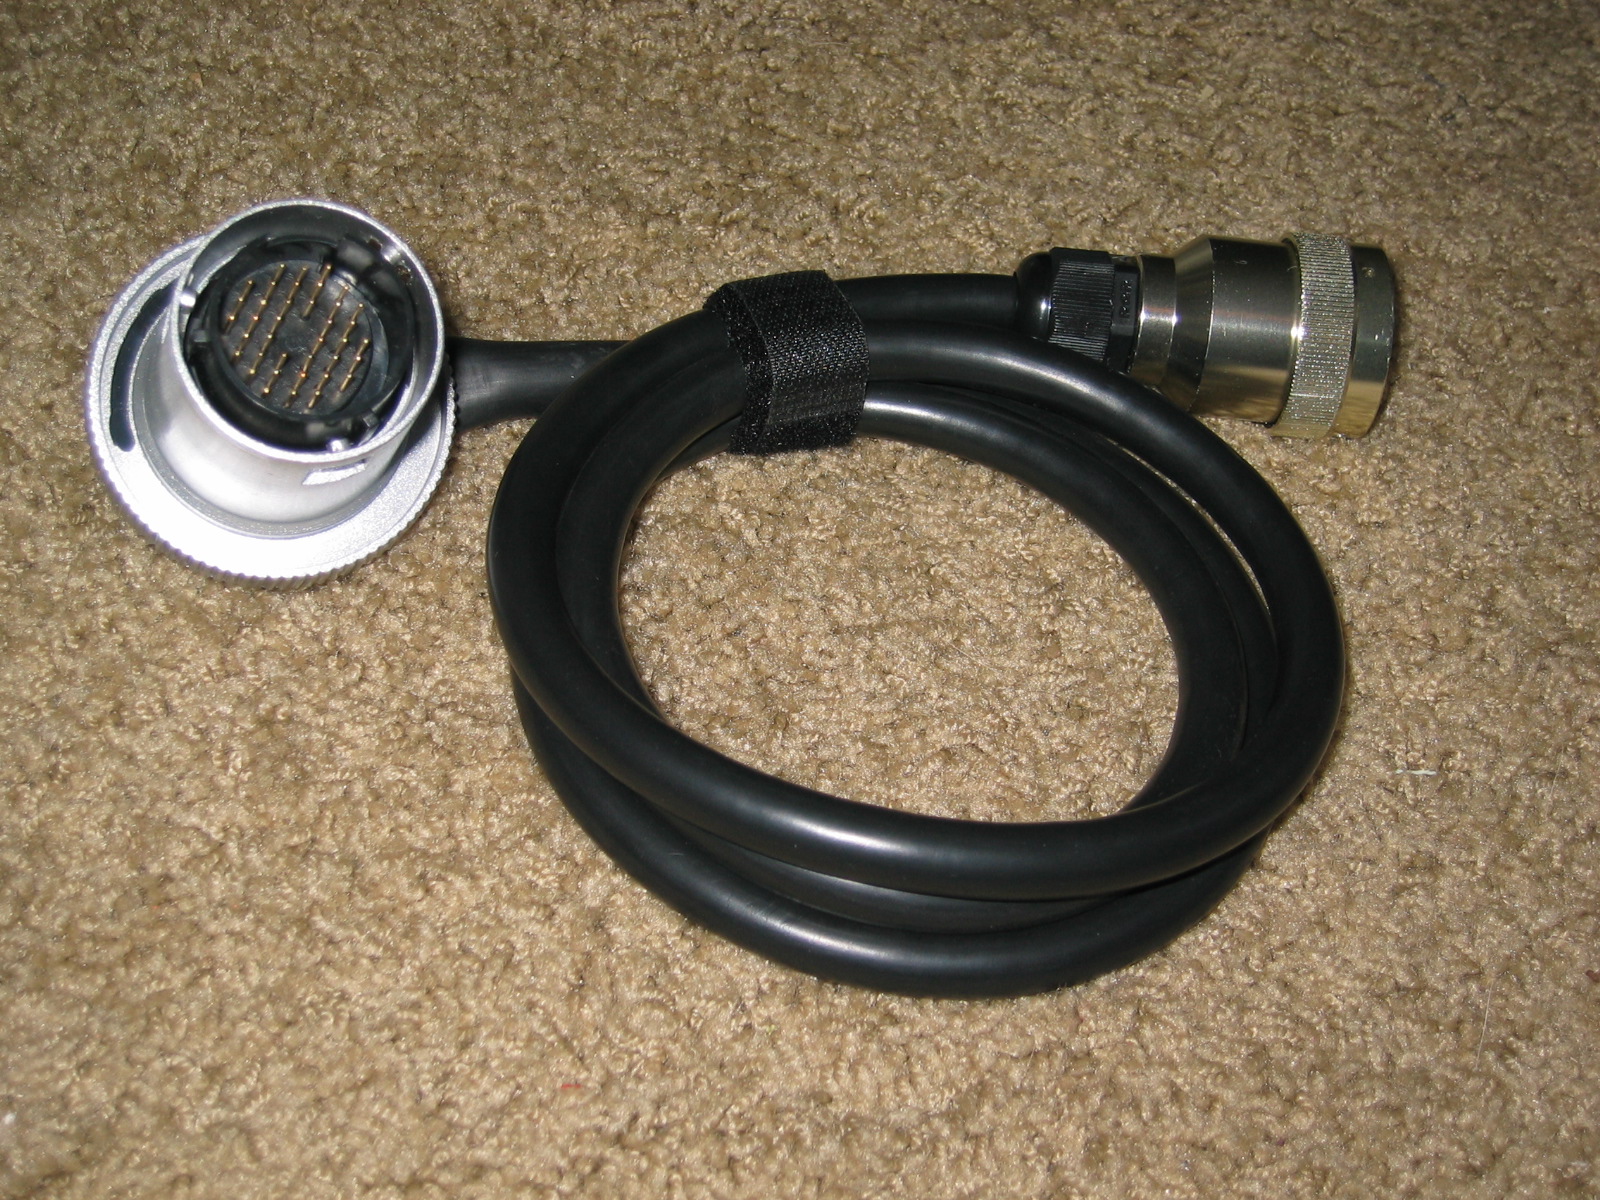
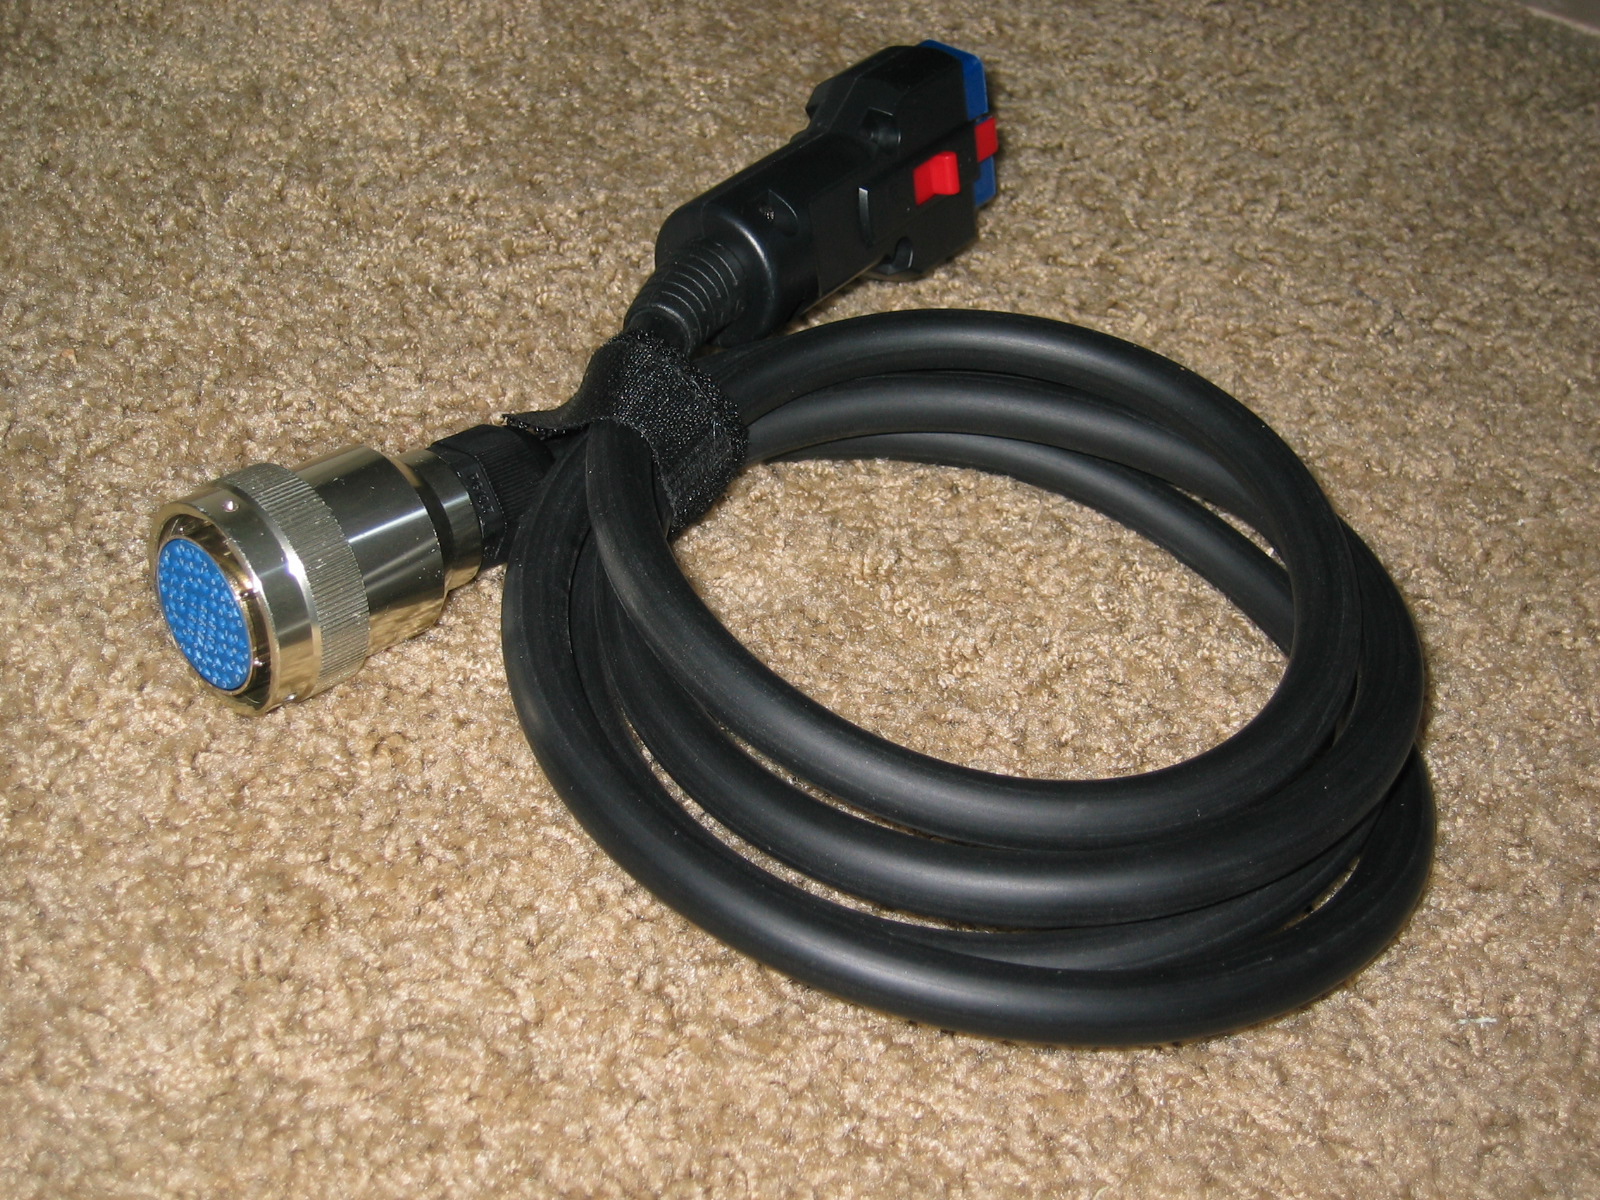
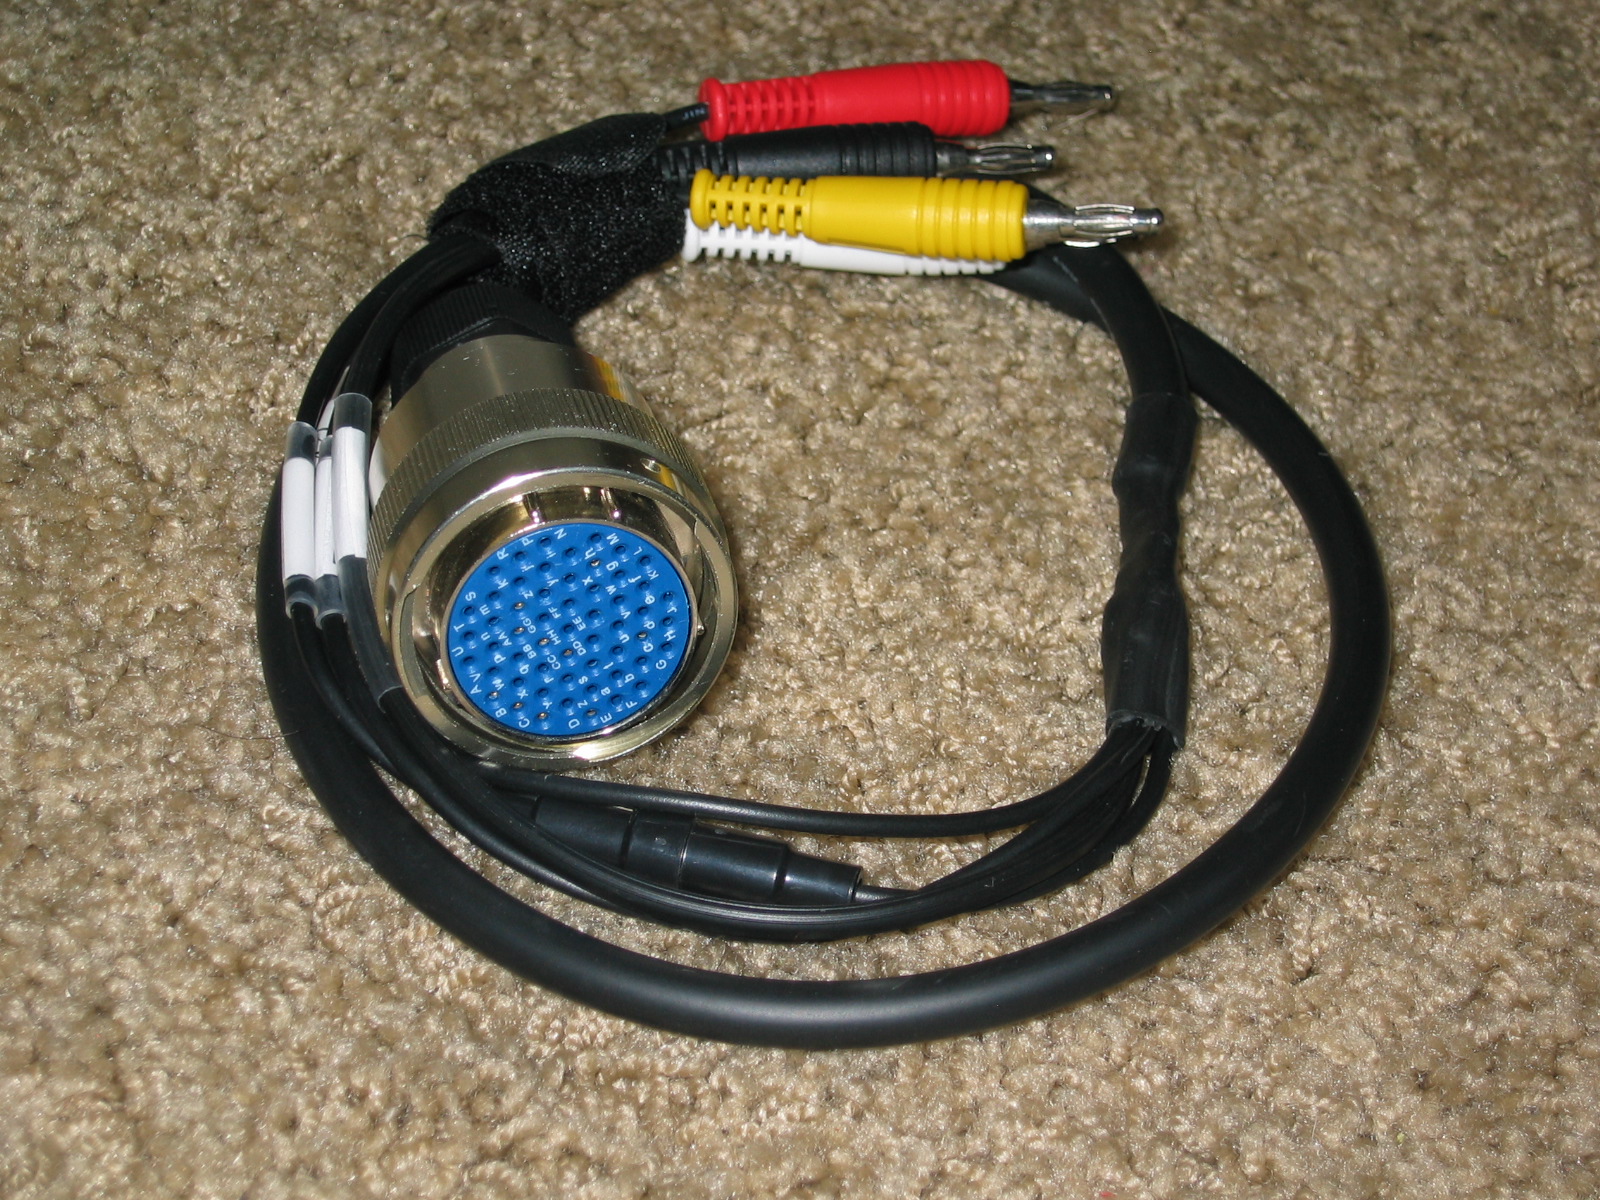
The MB STAR system, when it made its debut, was much more capable because it was PC-based (IBM T30 laptop), but it was also very versatile because it incorporated a HHT emulation mode (for backward compatibility) along with a “multiplexer” intermediate unit between the PC and the car, which allowed the connection of a variety of different diagnostic connection cables, depending on which diagnostic system the car in question happened to use. For the oldest cars (i.e. the C126, early R129 SL models, early W124s and W140s, etc.) a “four-pin” diagnostic cable was provided. For second-generation cars, such as the E500E, 400E/E420, middle and later R129s, middle and later W140s, the familiar “38-pin” plug is provided. There are also OBD-2 interface cables for model year 1996 and later cars, as well as a 14-pin cable for European diagnostic systems. All of these cables allow the combination of the MB STAR with the in-line multiplexer unit to fully interface with any particular car’s computers.
As I said, the MB STAR system debuted around 10-11 years ago, in 2001. Because of its expense, it has been very much “out of reach” of most MB owners and enthusiasts. To pull codes and get information about the car, owners were forced to buy limited testers from companies like Snap-On, Trisco, and others that perhaps allowed one to pull and reset codes, and a couple of solutions provided some limited “live data” where the car allowed it. These systems would typically run from $500 to well over $1,000. The other option was to somehow obtain a used HHT (they are occasionally available via eBay, and are quite expensive) or a used MB STAR system – still a huge expense of multiple thousands of dollars used.
In recent years, Chinese forgers, who excel at making fake copies of everything from Louis Vuitton purses to Guess Jeans to Rolex watches, have set their sights on the MB STAR market (and other automotive diagnostic systems for other marques). This has resulted in a cottage industry whereby one could purchase an MB STAR system for anywhere between $600 and $1,200. Over the past year or so, as Chinese copies of the MB Star C4 system have come onto the market, the prices of the MB STAR C3 system have come down to a typical range of $250-450, depending on the vendor and the items included in the package.
These “clone” systems are easily available on sites like eBay and also Alibaba.com from hundreds of vendors. As with any Chinese copy of anything, quality varies and quite often — but not always — one gets what they pay for. The recent reduction in price of the MB STAR C3 systems has made even relatively good quality systems very very affordable for the DIY mechanic and/or MB enthusiast — providing them with the same diagnostic power as the dealership mechanic (but not the same level of training and knowledge). Typical options that are available with MB STAR C3 systems available on the Internet include: an array of cables; a multiplexer; a hard drive containing the MB STAR software package; and instructions on how to set up the system. The software typically includes: MB Xentry, WIS, EPC, STAR Utilities; EWA net; Star Browser; Star Finder; and a recent MB parts price list (which goes out of date quickly). Quite a number of vendors also provide Internet support, including the ability to remotely control systems over the Internet (with the user’s permission, of course) to diagnose installation and software problems.
There has been precious little information on the Internet about the Chinese MB STAR C3 systems, how they operate, and in general how the system operates. This thread will be a thorough, methodical investigation of how the system works, what it looks like, and how it can be used with the E500E (and by extension, the 400E/E420). It is up to the individual owner as to whether they need or would want such a unit. It would be overkill for many if not most owners. However, there are a number of owners who do want to do their own maintenance and want the tools to help them do this properly. For these owners, purchasing an HHT or MB STAR system may be a good idea.
I will not go into the nuances and details of ordering the system. All that should be said is that one should do their research carefully, and pay attention to the ratings from other buyers as to the honesty of a particular vendor. Most of these vendors are based in Hong Kong or on Mainland China. Quite often they speak decent English and are quite responsive and communicative when inquiries and requests are made. It would be recommended that prospective buyers utilize an escrow service to complete the transaction, so as to maximize honesty and straightforwardness of the transaction from both sides.
Some vendors offer free air-mail shipping via DHL or other international shipper. These packages can arrive in as little as three or four days after a payment goes into escrow and the seller is notified by the escrow company that they have received the cleared payment. Once the package is received by the buyer, they inform the escrow company that the package has been received in good order, and the money is then released to the seller. Pretty seamless, and because of the escrow service — a fairly safe transaction. Certainly better than sending off a Western Union or Credit Card payment to an unknown party in a foreign land.
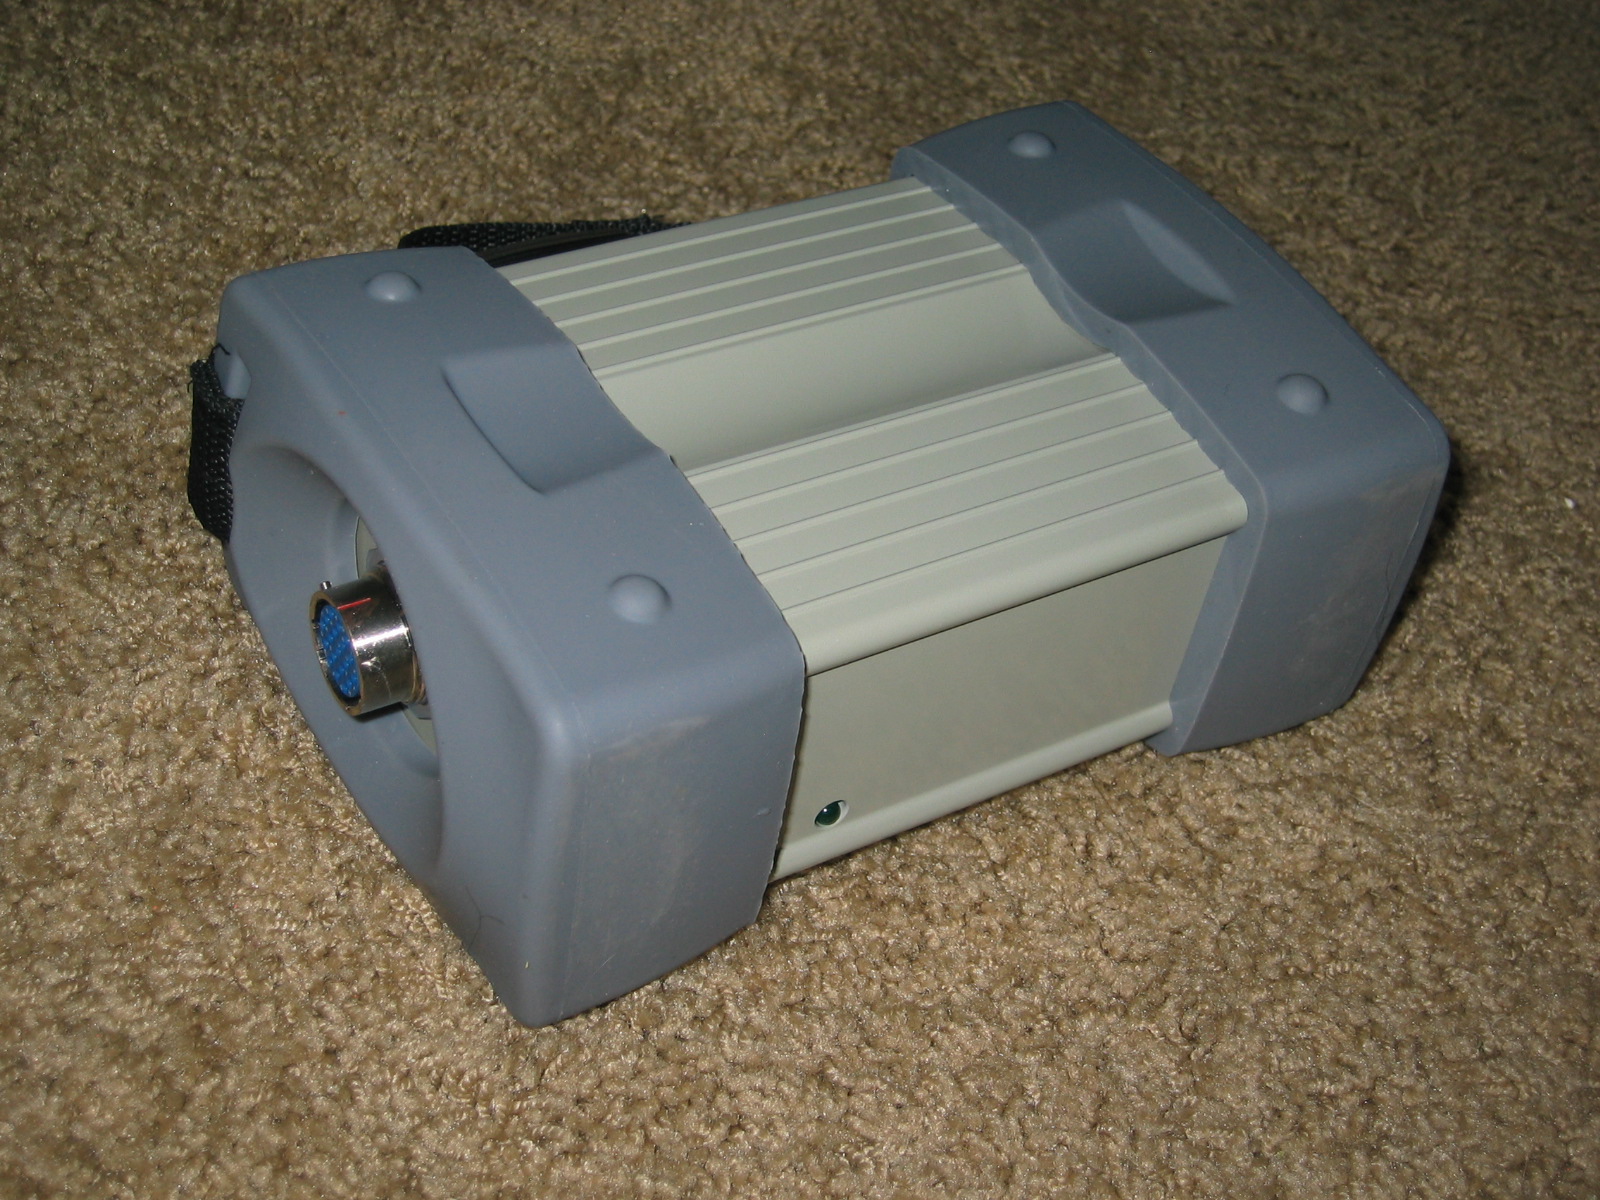
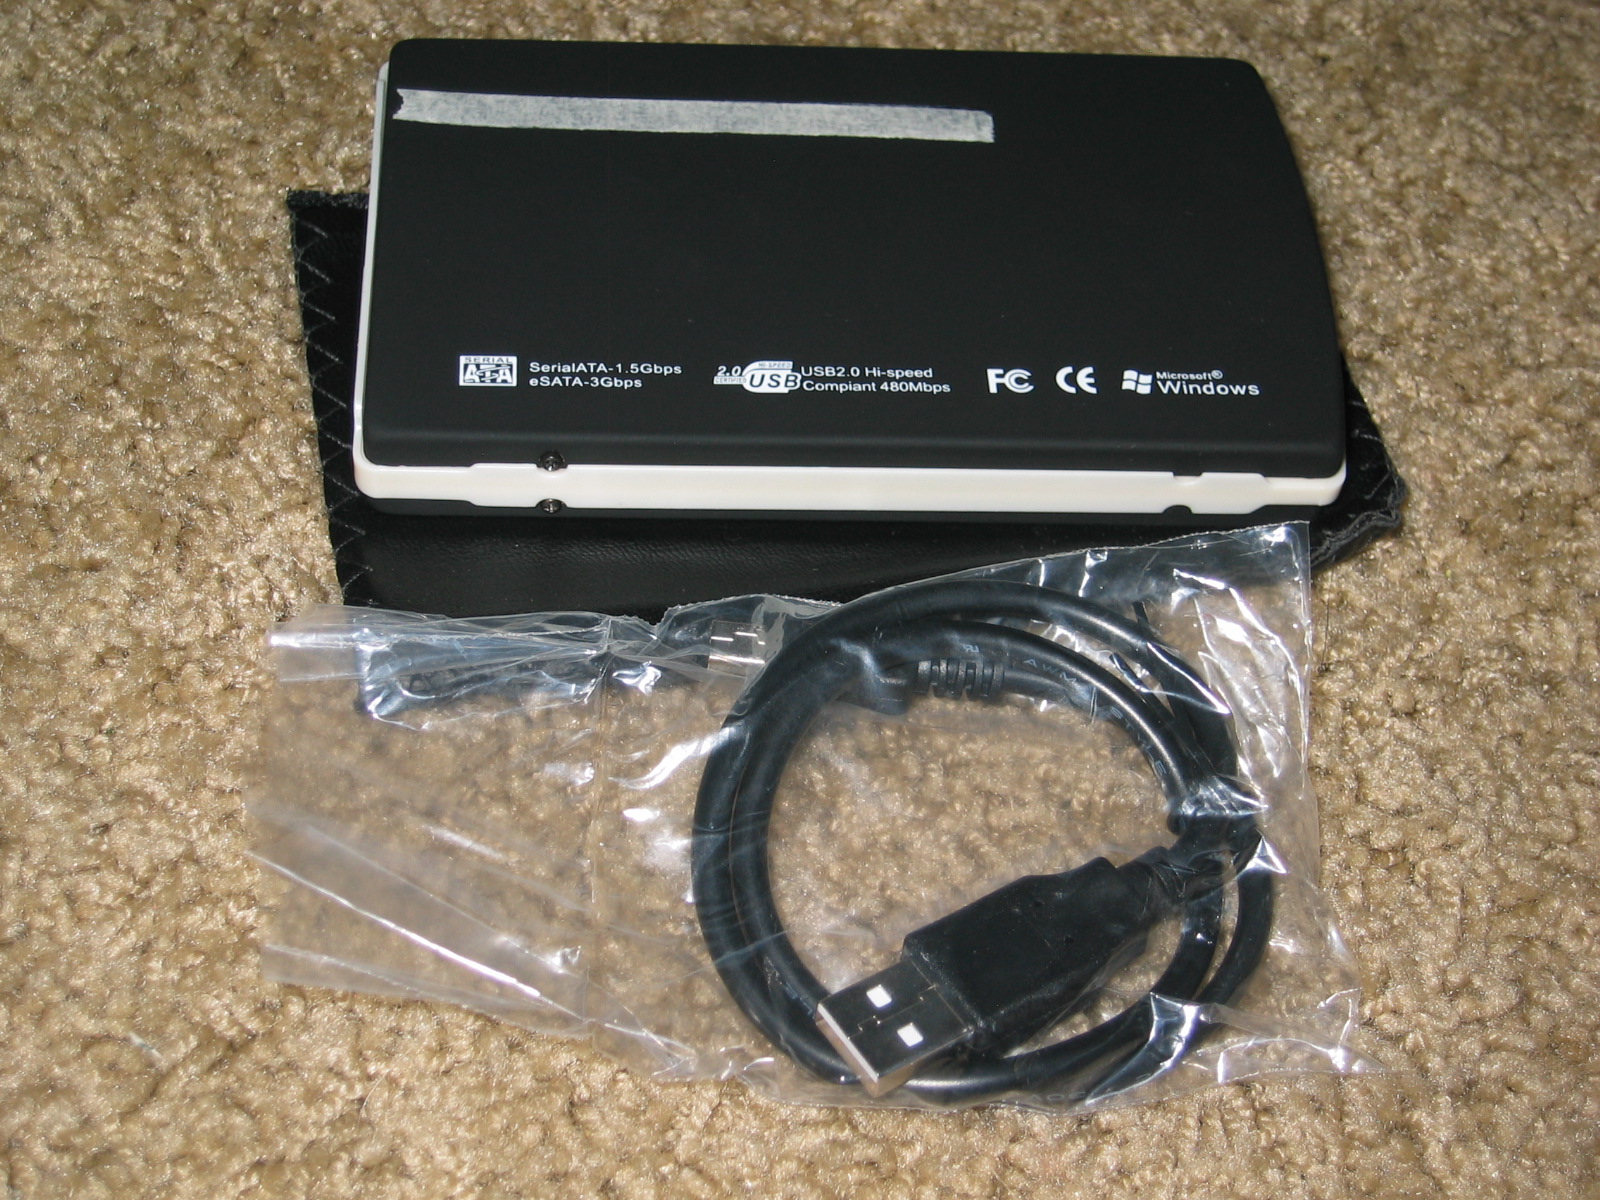
So, the photos below illustrate what is commonly received with an MB STAR C3 package. It is a 4.5kg (10-lb) box that is nicely packed, and includes all of the items described in the seller’s site. A typical package will include the cables, a USB hard drive (or internal hard drive for an IBM or Dell computer, if specified), a multiplexer box and a packet of adhesive stickers that are placed on the multiplexer and the computer-to-multiplexer cable. The box is unpacked and the contents are checked against the web site’s description to ensure that all contents were included. Some sellers also sell individual pieces of the sets, if they are ever needed.
Next, after the contents of the package are ascertained to be correct, the recipient should install the software on a computer. It is HIGHLY advisable that a standalone, separate laptop computer be used for this, seeing as it will be used in a garage (next to the car) environment. For versatility (and because most people don’t own the specific IBM and Dell laptop models that are needed for the internal drives) it is advisable that the buyer specify the external USB hard drive model of the MB STAR C3. This way the hard drive can be plugged into any qualified laptop and used.
Requirements for a laptop that can be used with the MB STAR C3 system are generally as follows:
Must have a SERIAL port
Must have a processor frequency rating of 1.8 GHz or higher
Must have at least 1 GB of RAM; more is highly desirable
Must have a USB 2.0-compatible port
Must be running Microsoft Windows XP
It is best to just purchase a used laptop via eBay or Craigslist that meets these specifications, and use this computer SOLELY as a DEDICATED computer for the MB STAR installation. It can be kept in the garage and used for these purposes. It really doesn’t even have to be connected to the Internet. One can also put the laptop on a dedicated cart, which allows the computer, cables and a printer (if desired) to be rolled around the workshop/garage next to specific cars. Although the cables are quite long, it’s nice to have the computer next to the engine when using it.
PART 2 — INSTALLATION AND INITIAL SETUP
Tonight we pick up Part 2 of our series: installation and initial setup of the MB STAR C3 diagnostic system.
As mentioned, it’s best to have a dedicated “shop” laptop computer that is used for the MB STAR C3 installation. I actually mimicked the actual MB STAR system by purchasing at Sears a Craftsman rolling cart with hinged top, two drawers and a lower shelf, to hold a Hewlett-Packard inkjet printer for printing out reports generated by the MB STAR C3 system. The drawers come in handy for storing the diagnostic cables that go with the system; I also added my home-made “blink code reader” and my 38-pin “Mushroom” diagnostic adapter just to round things out and to have all of the MB diagnostic equipment in one place.
First of all, the hard drive of the computer needs to be 160 GB or greater; the processor frequency of the computer should be at least 1.8 GHz, and the computer should have at least 1 GB of RAM installed (more is better). My computer had all of these parameters except that it has 3 GB of memory installed. This is a real bonus as you will see in a little while. If you can purchase RAM and add it to the computer, it is advisable to do this as RAM is pretty cheap, particularly for older-model computers.
The first step is to prepare the computer for the installation. Using the operating system master disk that came with the computer, it’s recommended to just re-format and re-install a virgin copy of the Microsoft Windows XP operating system onto the computer’s hard drive. Then, you should connect the computer to the Internet (via wireless or via RJ-45 “Ethernet” cable) to update the software, to bring it up to full Service Pack 3 status and to install all of the current security and product updates, as necessary. Next, you will need to partition the hard drive into two logical drives, using a free disk-partitioning program that you can download on the Internet. There are dozens available for Windows, so it shouldn’t be hard to find one. I recommend that you partition your hard drive into two equal 80GB partitions. One will likely be drive “C” and the other partition will likely be “E” or “F” when you are done. You can also choose to partition your hard drive BEFORE you re-install the virgin copy of Windows XP, depending on what you want to do. Either/or.
Next, you want to “clone” the USB hard drive you that comes with the MB STAR C3 kit onto the second partition. Again, there are numerous, free, downloadable disk-cloning software packages available on the Internet. It wlll likely take about 3-5 hours to completely clone the external drive onto the new drive. The reason for doing this is two-fold:
a) you want to preserve your external hard drive as a backup “master” copy of the MB STAR C3 software, in case something goes wrong and it has to be re-installed;
b) performance of the MB STAR C3 system is MUCH better when it’s installed on an internal hard drive than when it’s installed on an external drive; and
c) it’s just unwieldy to have a USB drive hanging off the side of the computer connected with a USB cable; much cleaner just to have everything inside the laptop case.
So, now you’ve cloned the disk and you’re ready for the install.
First, a little background about the MB STAR C3 DAS system, as it comes from the cloners. Essentially, what ships on the hard drive is a Virtual Machine copy of an official MB STAR C3 IBM T30 laptop as shipped by Mercedes-Benz to the purchaser. The Chinese cloners have saved an image of this hard drive as a Virtual Machine image, which is then “played” in a Virtual Machine (in this case, VMWare) on the new computer. So, technically, it’s a computer operating within a computer, hence the name “virtual machine”. Because no processor or software emulation needs to be done, i.e. you’re not running Windows on a Macintosh or vice versa, the speed is actually pretty fast once the Virtual Machine is up and running.
In any case, once you have cloned the MB STAR C3 hard drive to the computer, then you will see a VMWare Player installer icon. You double-click this icon, and it will begin the installation process for the VM. It will ask you a bunch of questions (you just keep clicking on the “Next” button and then it installs the VMWare Player on the “C” (main) hard drive of the computer. It will probably put icons for the VMWare player on the desktop, in the menu bar and in the Start Menu folder as part of the installation process.
After that, you will have to restart your computer to complete the installation process, which is normal. After you restart, everything should be installed correctly. It’s a pretty typical Windows software install and it goes pretty quickly and smoothly. Remember, you’re just installing the Virtual Machine PLAYER that the MB STAR C3 disk image runs inside of. So next, you have to tell the Virtual Machine WHAT it needs to run. To do this, you have to go to the hard drive that you cloned the external hard drive to (typically the E: or F: drive) in your “Windows Explorer” program or by double-clicking on the “My Computer” icon on the desktop or in the Start Menu. From there, you will see an icon with the name something like “DAS_2012.10.vmx” or something similar. This is the disk image file with the date of the cloned copy in the name of the file — in this case, corresponding to the October, 2010 copy/update of the MB STAR C3. The .vmx extension on the file name indicates that the file is a VMWare virtual machine image.
So, you should double-click on this file, and it should automatically launch the VMWare Player that you installed, and the MB STAR C3 software playing in the Virtual Machine will ask your for an 8-digit password. Typically, with the Chinese clones you take the first 8 characters off of the serial number sticker that is on the hard drive (it’s the hand-written alphaneumeric character string that is on the label on the hard drive case) and type that in. From there, it will start loading the MB STAR C3 software. After a minute or two, the main (“Desktop”) screen of the MB STAR C3 system will appear. You have the option to run the Virtual Machine full screen (which I recommend) or you can just run it within a window on your screen.
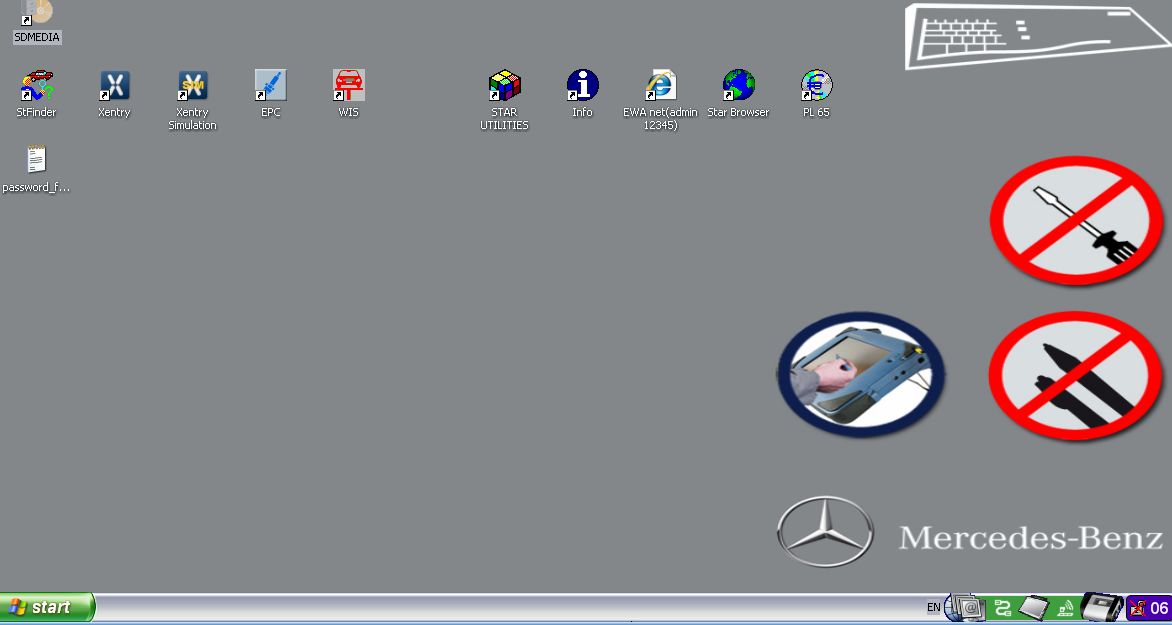
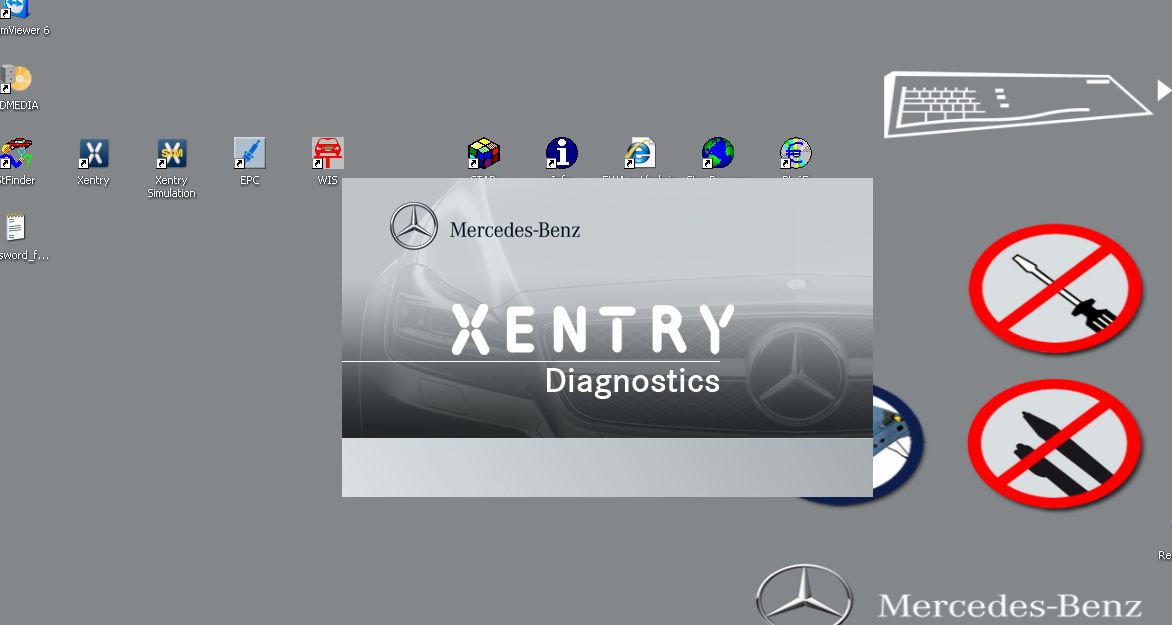
The Desktop screen of the MB STAR C3 (see first image below) contains a number of icons, which correspond to the various program elements that comprise the system. These individual programs generally correspond to the following functions (various clones may have slight to moderate variations of what is listed below, depending on the vendor and the extent of the clone):
Xentry – the “master control program” which is the hub of the MB STAR C3 DAS system, serving as the gateway out to most of the other individual key DAS modules
Star Finder – a program that allows (beginning with W210 cars, and all newer chassis) the user to pinpoint the location of components on the car
EPC – the Electronic Parts Catalog (same as US users have access to online; the MB C3 STAR versions are probably a bit out of date)
WIS – the Workshop Information System, a collection of all processes and documents pertaining to repair and maintenance of all the vehicles
Star Utilities – a collection of utilities that help the user administer the MB STAR C3 system — must be used VERY carefully !!
Info – information about the MB STAR C3 system
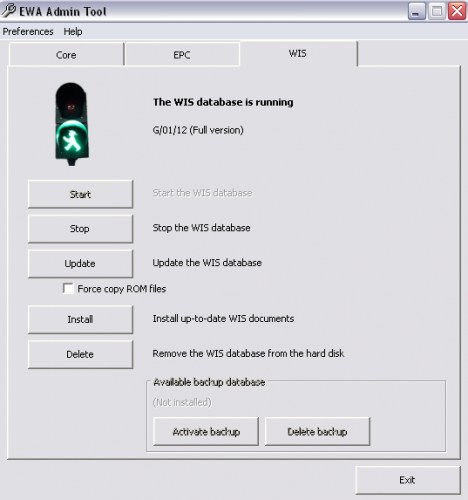
EWA net – the administration program for the core, EPCnet and WISnet functions that tracks passwords and user access
Star Browser –
PL 65 – a price list of MB parts prices (generally out of date, but often a good indicator of pricing)
SD Media – a collection of instructional information and video procedures for diagnosing and solving problems
TeamViewer 6 – a non-Mercedes remote access program that allows the vendor to control your computer if you need technical support/assistance. Specific program varies by vendor.
EWA Net software interface
Typically, because the Chinese cloned copy of the MB STAR C3 DAS is a copy of a real system, taken at a point in time in the past, you will at this point have to change the day and year of the Virtual Machine (not your Windows XP system date and time, though you can do this too if you wish) to correspond with that of the day, month and year found in the file name of the Virtual Machine image on the hard drive provided with the system. Generally, the vendor will provide you with a specific date that you should change it to. It is IMPERATIVE that you do this before EVERY time you start up the MB STAR C3 system; otherwise you will get errors and you won’t be able to properly run the Xentry software because it will be out of date.
So, after you’ve changed the system date in the Virtual Machine, you should double-click on the “Star Utilities” icon on the desktop to begin the actual configuration of the MB STAR C3 installation. You will then click on the “StartKey Manager”. At this point, a dialog box will pop up, and you have to select the “Xentry diagnostic” option in the Application menu.
The system will then provide you with several pieces of information, which you should write down. These bits of information include:
HW-ID
APP-ID
Start Date
Finish Date
Then you will see a place to fill in a long alphanumeric string of characters, which is an overall system access password. To obtain this, you have to provide the aforementioned bits of information to the vendor, and they will generate the alphanumeric code for you. This is several dozen characters in length. You enter this alpha code into the provided field, and if everything checks out and is correct, you will see a small box pop up that says “Saved Successfully!”. That means you are good to go, and you can then start and enter the MB STAR C3 DAS system.
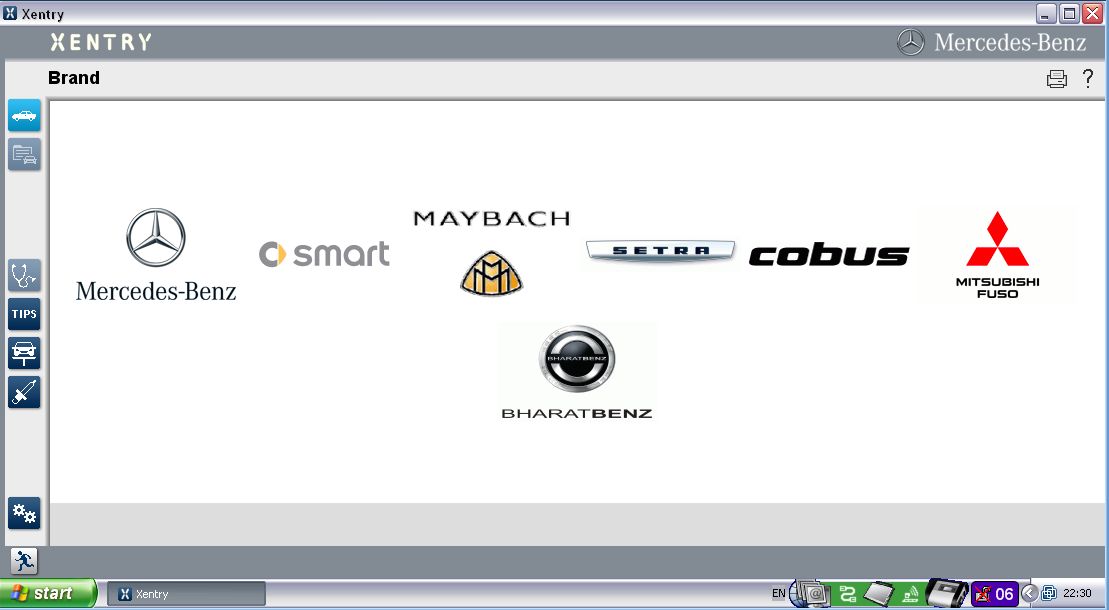
From there, what you want to do is to fire up the Xentry software by double-clicking on the Xentry icon. The second and third images below show the Xentry software in the process of loading, as well as its main screen.
Next installment will be a detailed exploration of the Xentry software and its links out to the various components of the MB STAR C3 DAS system.
Hope you enjoy this!
Leave a Reply