TOPIx Land Rover Specifically designed and released for the introduction of the following Jaguar and Land Rover vehicles. Jaguar F-TYPE X152 (18MY) F-PACE X761 (18MY) XE X760 (18MY) XF X260 (18MY) E-PACE X540 (18MY) Land Rover Range Rover L405 (17MY) Range Rover Sport L494 (17MY) New Discovery L462 (17MY) Range Rover Velar L560 (19MY onwards) Range Rover Evoque L538 (18MY onwards) Discovery Sport L550 (18MY onwards) These vehicles have been designed to communicate with new high speed communication protocols.
This allows faster software download, programming and communication, making it faster to use and saving valuable time. These vehicles can ONLY communicate with the all new PATHFINDER diagnostic software using the new Diagnostics over Internet Protocol (DoIP) Vehicle Communication Interface (VCI) unit which conforms to the new communication protocol. NOTE: All Retailers must install PATHFINDER to all Jaguar Land Rover Approved Diagnostic Equipment. Important information: SDD Symptom Driven Diagnostics does not have the functionality to communicate with these 2017 model year vehicles. PATHFINDER is the ONLY diagnostic tool to be used for the 2017 model year vehicles identified previously.

What do I need to use PATHFINDER?
1. Panasonic CF54 or CF53 JLR Approved Diagnostic Equipment For PATHFINDER to operate at its very best, the laptop or tablet being used must be an approved version/level of hardware.Note: For further information on approved hardware to support PATHFINDER, refer to: – Administration Bulletins JAB00046 / LAB00051
2. Downloading and Installing PATHFINDER Note: – The PATHFINDER software is designed to be installed to your existing JLR Approved Diagnostic Equipment. Please make sure you have the latest level of SDD software installed before beginning the PATHFINDER software installation. – Make sure there are no external USB flash drives inserted into the machine. – Due to software file size, the software download and installation process will take some time.

JLR Pathfinder Software Installation
Make sure that the approved hardware is connected to the internet.
1. Open Internet Explorer Using the following URL http://diagnosticdelivery.jlrext.com/pathfinder/jaguarlandrover_connect_updater.exe, Download the PATHFINDER software (Note: since V372 the installer already stopped, all system will be online updated)
2. Select ‘Save’, select ‘Desktop’, select ‘Save’ The software file will now download
3. Select ‘Run’ A security warning window will appear, select ‘Run’ The Jaguar Land Rover Connect Setup Wizard will now begin The ‘Welcome to the Jaguar Land Rover Connect Setup Wizard’ pop up will appear. Select ‘Next’
4. The ‘Select Additional Tasks’ pop up will appear. Do not select the ‘Create a desktop icon’. Select ‘Next’ Note: The installation progress will be shown on screen
5. After installation, the ‘Completing the Jaguar Land Rover Connect Setup Wizard’ will appear. Select ‘Finish’
6. The machine will now restart
7. The Internet Explorer will open with your homepage or the new JLR App Launcher screen will open Note: The PATHFINDER icon will not work until the software download has completed
8. The PATHFINDER software will automatically download in the background Note: To check the software download progress, select the ‘Hidden Icon’ arrow in the bottom right hand of the screen (Windows system tray)
9. Right click the ‘Connect’ icon, select ‘Check for Updates’ and view the Jaguar Land Rover Application progress bar Note: Due to software file size, the software download and installation process will take some time, please be patient Note: Do not attempt to use PATHFINDER or SDD until the software download and installation has completed
10. The ‘Jaguar Land Rover Connect Updater’ pop up will appear, select ‘Install Now’ Note: If the ‘Please close JLRAppLauncher to continue the installation’ pop up appears, hover the cursor over the ‘JLR Application Launcher’ icon on the ‘Windows Task Bar’ at the bottom of the screen. Right click on the icon and select ‘Close Window’. Select ‘Continue’ on the ‘JLRAppLauncher message’ pop up. The ‘JLRAppLauncher message’ pop up will close, PATHFINDER is now installing, please be patient
11. Select the ‘Hidden Icon’ arrow in the bottom right hand of the screen (Windows system tray). Select the ‘Connect’ icon and view the ‘Jaguar Land Rover Application progress bar
12. When the progress bars display 100%, select ‘Close’ PATHFINDER is now installed
JLR Pathfinder Software Options
1. Remote Pathfinder SDD system install
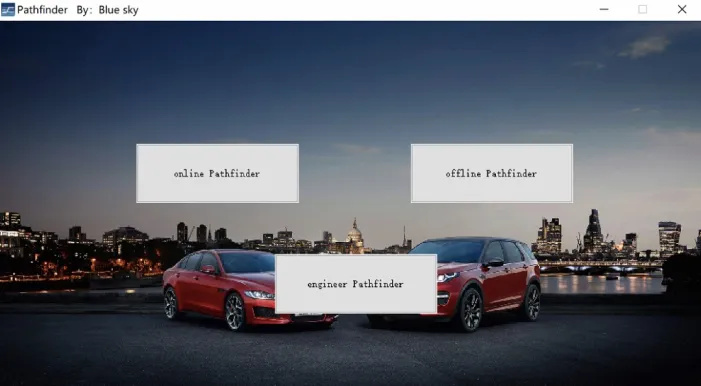
2. JLR TOPIx offline Pathfinder
3. JLR Patherfinder Pasonic FZ G1 System
4. Pathfinder 2022 New Models Pathfinder 2022 Patched

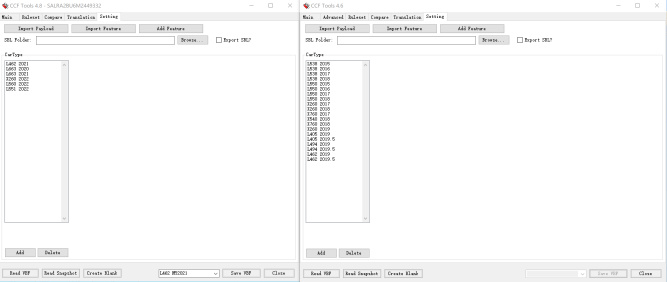
5. CCF TOOLS 4.8 for JLR CCF Editor CCF Tools 4.6 CCF Editor 4.8

6. Offline Pathfinder Patched for V372 V374 JLR PathFinder Offline

Installing the Diagnostics over Internet Protocol (DoIP)
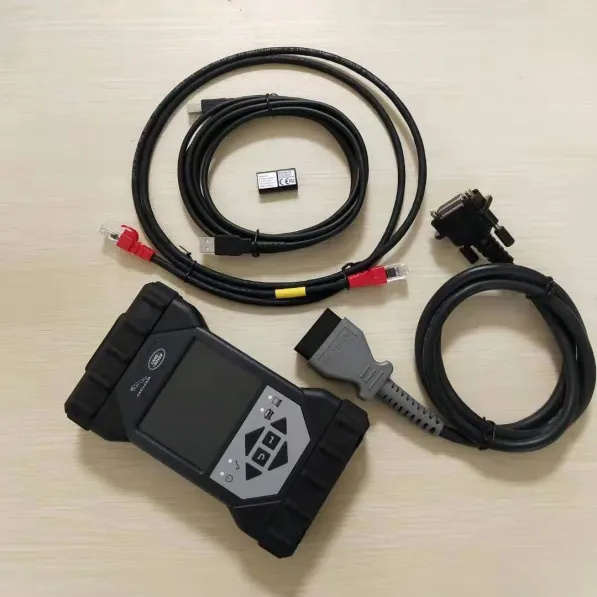
Vehicle Communication Interface (VCI) unit JLR DOIP VCI

* Note 1: A DoIP VCI (Diagnostic over internet protocol)Bosch or JLR Approved DoIP. The Bosch DoIP VCI Interface covers all JLR models from 2005 to 2021+. PATHFINDER requires a DoIP VCI unit to communicate with the 2017 model year Range Rover L405, Range Rover Sport L494 and New Discovery L462. The DoIP VCI must be the only VCI connected to the JLR Approved Diagnostic Equipment when using PATHFINDER. Future PATHFINDER communications will appear soon in the ‘Activity Stream’ section on TOPIx. Every retailer MUST have the DoIP VCI available in their workshop. The DoIP VCI is the only JLR approved VCI unit that can communicate with the 2017 model year vehicles identified earlier. Please be aware that the following instructions are only applicable for the first use of the VCI. Once the initial installation and settings have been completed, the DoIP VCI is plug and play with the PATHFINDER software.
* Note 2: Insert the DoIP VCI USB cable into the DoIP VCI device and the JLR Approved Diagnostic Equipment. Note: The ‘USB Input Device’ pop up will appear, select ‘X’ and close the pop up.
1. Select the ‘Windows’ key
2. Select ‘All Programs’
3. Select ‘Bosch’
4. Select ‘VCI Software (JLR)’
5. Select ‘VCI Manager (JLR)’
6. Select the VCI icon displayed on screen
7. Select ‘Connect to VCI’
8. Select ‘VCI Update’
9. Select ‘Start Update’ The ‘VCI Manager Information’ pop up will appear, select ‘OK’ to continue Note: Do not disconnect the DoIP VCI from the JLR Approved Diagnostic Equipment during the update process Note: The DoIP VCI update process will take approximately 12 minutes to complete
10. The DoIP VCI will now automatically restart. Wait for the DoIP VCI to give an audible beep. Select ‘OK’ to continue
11. Select ‘X’ and close the ‘VCI Manager’
12. The DoIP VCI is ready for use Setting Preferences in PATHFINDER
Setting Preferences in PATHFINDER
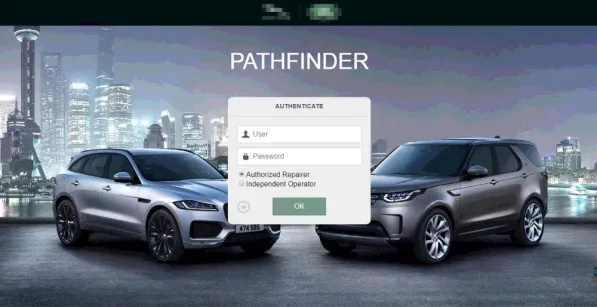
1. Select the PATHFINDER icon on the ‘JLR Application Launcher’
2. Select ‘Other User’ and enter your ‘User Identification’ and Password details
3. Select ‘Independent Operator’ or ‘Authorised Repairer’
4. Select ‘OK’ and log in Read the content of the ‘Warning’ pop up and select ‘OK’
5. Select the three bar icon in the top right of the screen. Select the ‘Settings’ icon’
6. Select the ‘Communication Interface’ tab. Select ‘D-PDU’ The ‘Windows Security Alert – Windows Firewall’ pop up is displayed Note: Do not select ‘Cancel’ when the ‘Windows Security Alert’ pop up is displayed
7. In the ‘Windows Security Alert – Windows Firewall’ pop up, select the check boxes for ‘Private Networks’ and ‘Public Networks’, then select ‘Allow Access’.
8. The preferences have now been set in PATHFINDER Note: Once the initial installation and settings have been completed, the DoIP VCI is plug and play with the PATHFINDER software.
Leave a Reply